
Sometimes you just need triple the chocolate. Because when you’re in the mood for chocolate, why not go ALL the way and triple it (is this technically quadrupling it? triple is a little easier to say so we’re going with that). AND, this cake happens to be the down right easiest layer cake on the blog (maybe giving this super simple and decadent Mexican Hot Chocolate layer cake with cinnamon and chile). If you’re new to layer cakes, or, like me, until quite recently (read: last June) had never fully decorated an actual layer cake before, this is for you. Huge props to the other half of Sisters Sans Gluten, my little (younger but taller) sister, Kendra, for diving headlong into this intimidating baking arena long before I did and for patiently talking me through my first ever layer cake decoration adventure via FaceTime because that’s what sisters are for. That cake in all it’s massive, slightly-messy glory, was the epic giant strawberry lemonade cake that was commissioned by a friend for a socially-distant park birthday last year. Let me tell you, after getting over my nerves with Kendgie’s help, I’ve progressed significantly in the layer cake world, but until this gluten free triple chocolate cake, I’d never purposefully made a stylized naked cake before! Of course, before I got into fully decorating layer cakes (frosting the sides and top etc), the only way I know how to make a layered cake was to slather some frosting on with a butter knife, maybe blop on some jam, and plop the second layer right on top for a simple, “rustic” look. But little did I know, there’s a whole world of naked cakes out there (less immodest than they sound) that you can really dress up while dipping a toe in the fancy layer cake realm.
Tips for a great naked cake
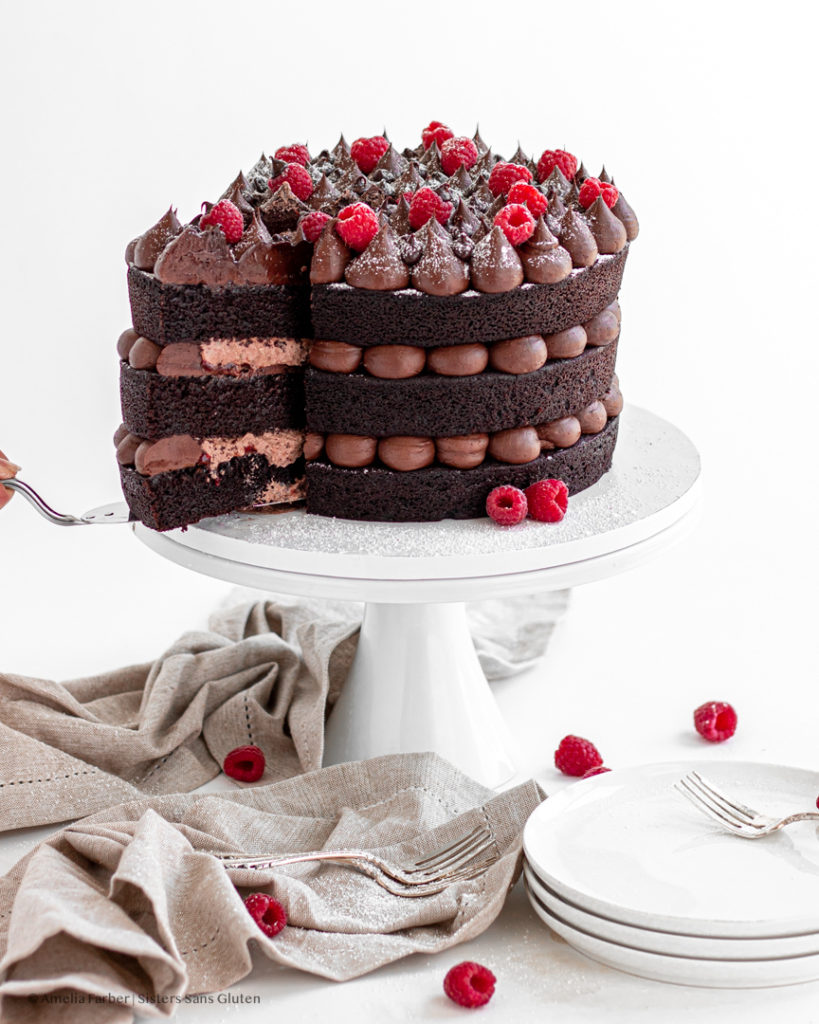
If you’re new to naked cakes, don’t be shy – they’re down right sinfully-easy to make and they look fantastic. This cake was one I conjured up as our fourth and final (for now!) Wine & Desserts pairing with our friend Iker (check out his awesome knowledge on wine here!), who’s training as a wine expert in Austria, and since the goal was for each of us (him in Austria and me in California) to buy the wine Iker chose and to make the cake I developed, I wanted to be sure it was an approachable layer cake for any level of baker. Side note – the pairing was phenomenal, so if you make this cake, I absolutely recommend grabbing a bottle of Banyuls by M. Chapoutier – a French red dessert wine with chocolate and red berry notes that pairs perfectly with this cake! Props to Iker for deftly navigating all FOUR of the recipes I threw at him – his final baked goods all looked incredible!! To make this one a bit easier (no crumb coat/worrying the cake will fall over, no final perfect frosting and worrying about clean edges and using cake scrapers etc), I went for a naked cake!
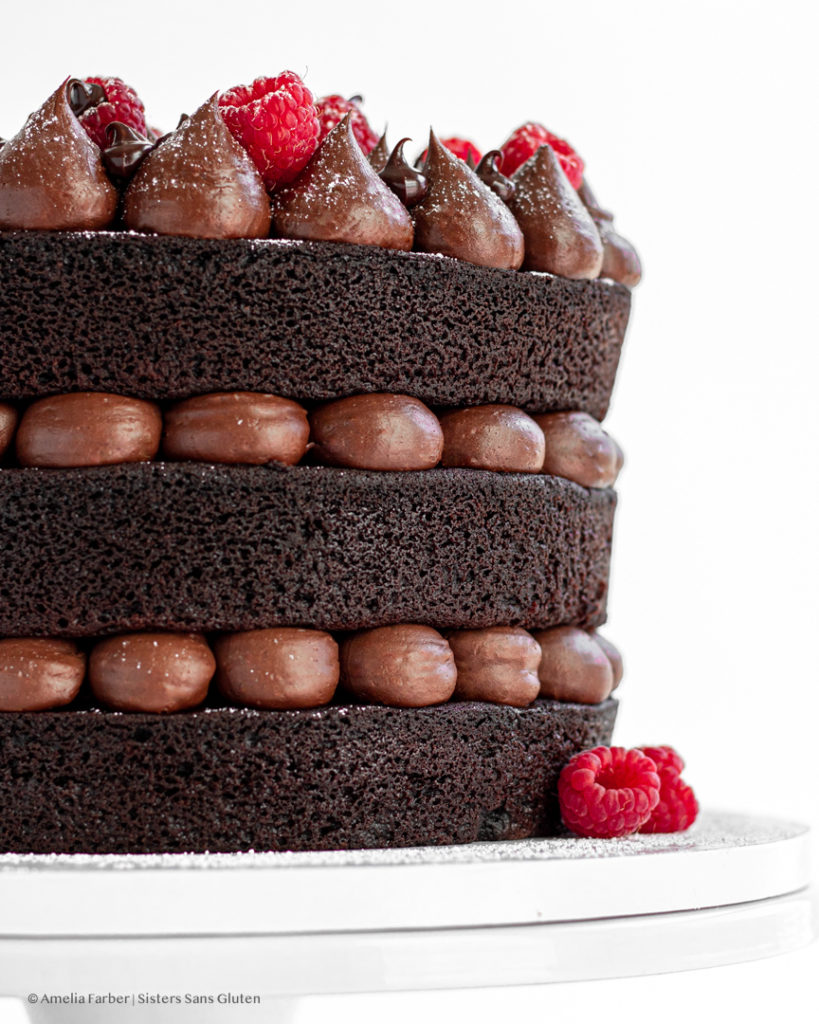
- First tip is to use cake pan strips! If this is a totally new concept, not to worry, they were new to me as of about two months ago. Here’s a link to a handy pack that I use and really like. Essentially, they’re heavy fabric strips that connect in a circle and that adjust to your size of pan that you soak in water and then fasten around each cake pan to sort of shield the cake from direct heat. This allows the cake to rise uniformly across the top (no domed cake tops that you then need to slice off to make flat layers).
- Second tip is to freeze your cake layers before constructing the cake! I let my cake layers cool completely, then turn each one out onto plastic wrap and wrap the whole layer in two overlapping layers of plastic wrap before placing them back in the empty cake pans and popping them in the freezer for a couple of hours (or overnight!). This makes constructing the cake a breeze – you won’t have to worry about lifting a large cake layer and worrying about it crumbling or breaking as you try to stack it.
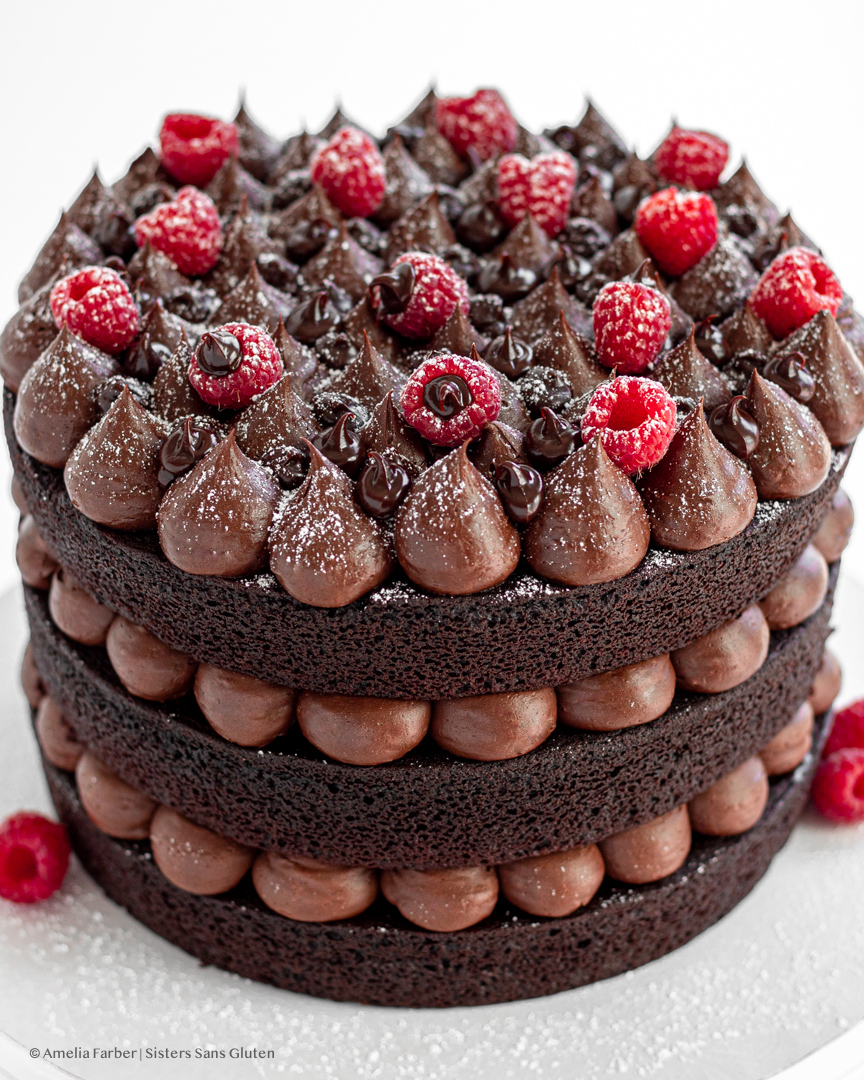
- Third tip is to use a structurally sound but fun pattern for your buttercream in between the layers – I went for a large round piping tip and large dollops of frosting to make the pattern you see in the photos. You want to ensure, especially if you’re using other soft fillings inside the cake, which we are for this one, that you have a strong ring of buttercream around the edge of each cake layer, and then you can fill the center of the ring with softer fillings.
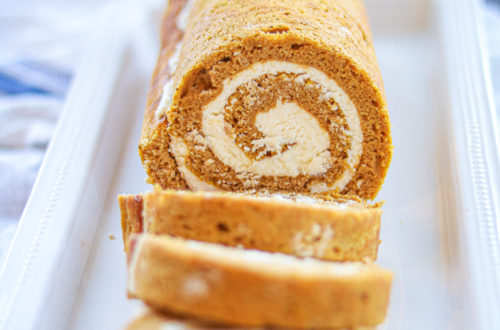
If this all sounds like something you’re up for (I promise it’s easier than it looks!!), go for it! And then you can level up your layer cake game by trying something like our simple layered carrot cake, or the this chocolate hazelnut cake, or this whipped cream-frosted pineapple cake!

Gluten Free Triple Chocolate Raspberry Cake
Equipment
- Four 9-inch round cake pans
- Electric mixer
- Plastic wrap
- Piping bag and tips (tips optional)
- Cake pan strips (optional)
Ingredients
For the cake:
- 3 large eggs
- 1 ½ Cups sour cream
- 1 Cup plus 2 Tbsp canola or vegetable oil
- 2 ½ tsp vanilla extract
- 2 ½ Cups plus 2 Tbsp white sugar
- 2 ¼ Cups gluten free 1-1 flour mix with xanthan gum added if it doesn’t have xanthan gum, add 1 teaspoon xanthan gum
- ¾ Cup sweet rice flour
- 1 Cup plus 2 Tbsp good quality Dutched cocoa powder
- 1 ½ tsp baking soda
- 2 ¼ tsp baking powder
- ¾ tsp salt
- 1 ½ Cups hot coffee
For the chocolate whipped cream:
- 1 Cup cold heavy cream
- ¼ Cup sifted powdered sugar
- 2 Tbsp dutched cocoa powder
- ⅛ tsp salt
- ¼ tsp vanilla extract
For the chocolate ganache:
- 1 Cup heavy cream
- 2 Cups semi-sweet chocolate chips
For the filling/topping:
- ⅔ Cup raspberry jam
- ½ Cup fresh raspberries
- For the chocolate buttercream:
- 3 cups salted butter
- 3-4 Cups sifted powdered sugar
- 1 ½ Cups dutched cocoa powder
- 1 tsp vanilla extract
- ¼ tsp salt
- 1-3 Tbsp heavy cream
Instructions
To make the cake:
- Make the cake layers! First, place your cake pan strips (optional) in a large bowl of water to soak. Preheat the oven to 300° Fahrenheit and grease your three 9-inch round cake pans with either butter or cooking spray, then set aside. In a medium bowl, whisk together all of the dry cake ingredients (gluten free 1-1 flour, sweet rice flour, cocoa powder, baking soda, baking powder, salt) then set aside.
- Then, in a large bowl, whisk together the eggs, sour cream, sugar, canola oil, and vanilla extract until fully blended and creamy. Once combined, add in the dry ingredients and use a spatula or wooden spoon to mix. Fun step! Poor in the piping hot coffee and stir until fully combined (it’ll take some working). Before pouring batter into pans, secure your cake pan strips tightly around the outside of each pan. Then pour cake batter evenly into the three greased cake pans and bake for 30-40 minutes or until a knife inserted into the middle of the cake comes out clean. Let cakes cool completely before turning out each cake layer onto a large piece of plastic wrap and wrapping the entire layer in plastic. Then return the wrapped layers to the pans and freeze for 2 hours or overnight – this is optional but will make constructing the cake very easy!
To make the buttercream:
- While the cakes are cooling, make your chocolate buttercream. In a large bowl, using an electric mixer, beat the room temperature butter until smooth and creamy, at least 2-3 minutes. Add in the cocoa and blend, then add in the sifted powdered sugar 1 cup at a time until completely combined (it will take a minute or so). Add in the salt and vanilla extract and beat to combine. If the frosting is too stiff, you can add a tbsp or two of cream – it should be easily spreadable but should still hold its shape. Remember to taste your buttercream as you go! You can add a touch more salt, or more cocoa powder, or more powdered sugar to get the flavor just right, then adjust the texture by adding more cream. Salt is a key ingredient because it really makes the chocolate richer! Scoop two or so cups of buttercream into a piping bag with either a large round tip or your favorite piping tip – if you don't have a piping tip, just cut a 1/2-1 inch hole in the tip of the piping bag.
To make the ganache:
- Pour the cream into a heat proof bowl or large glass measuring cup and microwave for one minute, removing from microwave just as the cream begins to bubble up. Pour the chocolate chips into into the hot cream and let sit for one minute before stirring to combine (it’ll take about a minute to get the smooth consistency you want). Once the ganache is smooth, set in the fridge for 5-10 minutes to cool (you don’t want it melting your buttercream!), then remove and set aside.
To make the whipped cream:
- Make the chocolate whipped cream! In a medium bowl, whisk by hand or beat the cold cream with an electric mixer until thicker but not stiff. Add in the powdered sugar, cocoa, vanilla, and salt and continue to whisk/beat until stiff peaks form, then set aside.
To construct the cake:
- If you froze your cake layers, remove from the freezer and unwrap them. If you didn't use cake strips, you'll need to slice the bumps off the top of each cake layer to make them flat. If you did you cake strips, no need for this step!
- Place one of your cake layers on a plate or cake board, then spread a layer of buttercream in the center of the layer, nearly to the edge of the cake but not all the way to the edge. Then pipe large dollops of buttercream around the open edge of the cake layer- all touching so it creates a barrier to fill with jam, ganache, and whipped cream. These dollops will be the pillars that hold up the next layer so make them strong! Add a layer of jam inside the buttercream barrier, then a layer of ganache (just drizzle it in using the spoon you stirred the ganache with) and chocolate whipped cream. Then carefully place the second cake layer on top of this, adjusting it so that it’s in line with the first layer and level. Then repeat the filling: layer of buttercream, dollops in a structural ring, fill with jam, ganache, and whipped cream. Then place the final cake layer on top and top with more decorative dollops of piped buttercream, maybe a drizzle of ganache again and add fresh raspberries for a final finish! You can dust the whole thing with powdered sugar if you’d like too!
Tag @sisterssansgluten on Instagram if you snap a photo of your cake!
Food photography and styling by Amelia Farber


8 Comments
Pingback:
Pingback:
Pingback:
Pingback:
Nazia
This was my first time trying out a gluten free recipe and was nervous about you it would turn out. But there was no need because it was amazing! If you are a chocolate lover, you will love it!
I had my gluten free family members try it and they loved it!
Steve
Chocoholic’s dream! The cake part itself is fabulous but then add the chocolate ganache, chocolate whipped cream, and chocolate butter cream frosting…WOW!
Iker
This cake is so delicious and super easy to make! Also I have never done a layered cake before and it was super easy to construct it! I am actually surprised with the result of it!
It is very handy having three same size cake pans, so you can just bake and then to all the other stuff. I had one so I baked three times, which is also not a big deal, you can work on the other steps in the meanwhile.
Give it a try!!
Tristan
one of the best chocolate cakes I’ve ever had! The chocolate whipped cream was a game changer.