
In Harry Potter, Professor Lupin gives Harry, Hermione, and Ron chocolate after the first bizarre and harrowing encounter with dementors, and you’ve got to hand it to him, he knows how to cure a case of the willies. For any anti-chocolaters out there, apologies in advance for this post, but you’re probably not reading it anyway after seeing the gargantuan photo of an ALL CHOCOLATE cake, so, oh well. My sister and I have always loved chocolate. When we were little, we’d frequently have chocolate ice cream rings around our mouths, or would choose the flourless chocolate cake (often times the only gluten free dessert option but we’re not complaining), or be eager to snag a handful of chocolate covered almonds or even just plain old chocolate chips. It does have the profound ability to calm us down – both because of the nostalgia it imparts, and because of the actual chemical compounds of chocolate, I’m sure. We even learned about these compounds (though I’m forgetting most of it) on a tour of the Dandelion Chocolate Factory here in San Francisco, who make absolutely sublime bars of dark chocolate.
We have an even coverage of the chocolate spectrum, too. I love a good dark chocolate, while Kendra is fond of milk and white chocolates. When I lived in the Galápagos Islands for a few months for research, I would walk downtown and snag a bar of Pacari Dark Chocolate (Ecuadorian brand – they deliver to the US!) and eat the entire thing by noon – it’s velvety, deeply dark notes complemented by tart uvilla (Andean golden berries/cape goose berries), lemon grass, maca, or Ecuadorian rose (yes, Ecuador grows a TON of roses – especially right around the equatorial line).
So chocolate is a go-to, especially when the day turns sour in your mouth and stress levels are through the roof. Yesterday, a fire started in southern Oregon where Kendra and much of our family is, and the day unfolded in slow motion as evacuation maps grew and Kendra and our dad were cut off from returning home because the fire had jumped both freeways and was blazing out of control. They evacuated north and all our family and friends are safe, though many friends may have lost part of all of their houses. It’s a day when this cake would take the edge off of the frantic phone calls to hotels and endless updating of local news twitter.
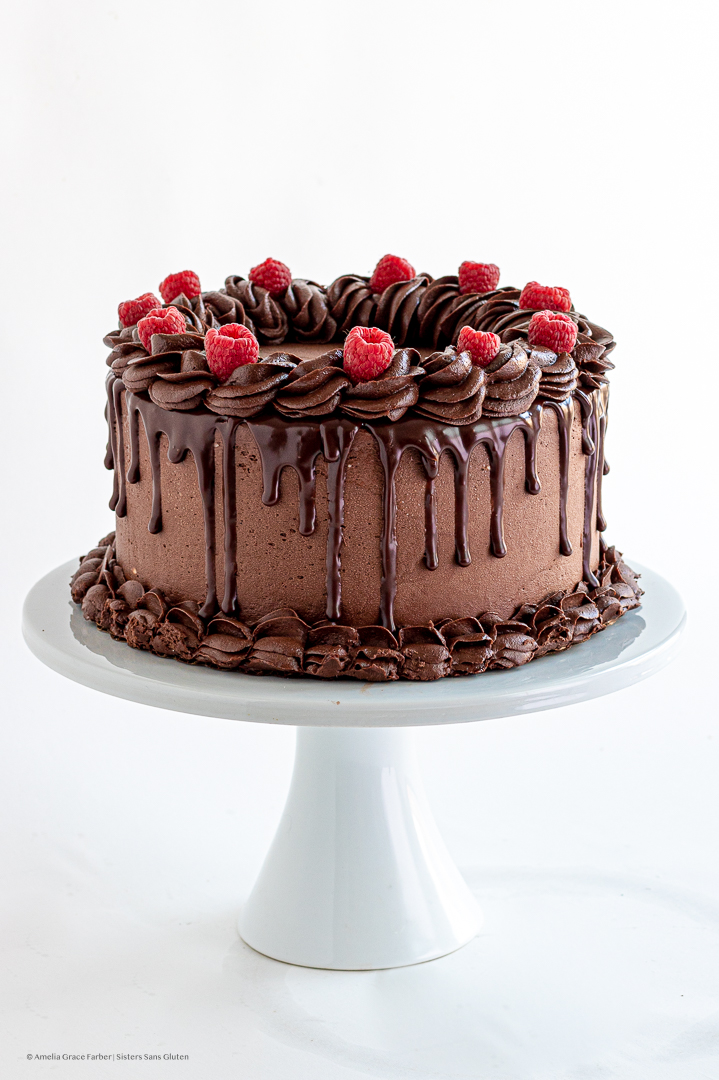
Sending love to all families affected by fires right now – in Oregon, Washington, California, and beyond. We’re hoping you all are safe and can spend time with family, with maybe a bite of chocolate to calm the real-world dementors of smoke and ash. Thanks to the De Rubira family for requesting this custom birthday cake last weekend – always so fun to make these gluten free layer cakes, but especially so if it’s for family friends. And it sounds like it was a hit! So, go out and make yourself your very own 3-layer dark chocolate raspberry drip cake! If you’re looking for more chocolate, try our chocolate raspberry cupcakes (this cake in miniature), or these chocolate coffee cupcakes, or these chocolate chunk monster cookies, or these chocolate truffle cupcakes!
Gluten Free Chocolate Raspberry Birthday Cake
Equipment
- Three 9-inch round cake pans
- Electric mixer
- Piping bags and tips
Ingredients
For the three cake layers:
- 3 Cups gluten free 1-1 flour mix with xanthan gum in it (if your mix does not contain xanthan gum, add 1 tsp of it now)
- 2 2/3 Cups white sugar
- 1 Cup plust 2 Tbsp dutched cocoa powder
- 2 tsp baking soda
- 3/4 tsp baking powder
- 3/4 tsp salt
- 3 large eggs
- 1 1/2 Cups sour cream
- 1 Cup plus 2 Tbsp canola oil
- 3 tsp vanilla extract
- 1 1/2 Cups hot coffee
For the buttercream:
- 3 8 oz packs cream cheese
- 3 Cups salted butter room temp
- 7-8 Cups sifted powdered sugar
- 1 1/2 Cups dutched cocoa powder
- 3 tsp vanilla extract
- 1/4 tsp salt
For the layer fillings:
- 1 Cup heavy cream
- 1/4 Cup sifted, powdered freeze dried raspberries instructions below
- 3 tsp powdered sugar
- 1/2 tsp vanilla extract
- 1/4 Cup raspberry preserves
- extra fresh raspberries
For the chocolate drip:
- 1 Cup semi sweet chocolate chips
- 1/2 Cup heavy cream
Instructions
- First, make your cake layers! Preheat the oven to 300° F and grease three 9-inch round cake pans with either butter or cooking spray. In a medium bowl, whisk together all of the dry cake ingredients (flour, sugar, cocoa powder, baking soda, baking powder, salt).
- In a large bowl, whisk together the the eggs, sour cream, canola oil, and vanilla extract until fully blended and creamy. Once combined, add in the dry ingredients and use a spatula or wooden spoon to mix. Fun step! Poor in that cup and a half of piping hot coffee and stir until fully combined (it’ll take some working). Pour cake batter evenly into the two greased cake pans and bake for 35-45 minutes or until a knife inserted into the middle of the cake comes out clean.
- Once the cakes are baked, let them cool completely before constructing the cake. While the cakes are cooling, make your cream cheese buttercream. In a large bowl, using an electric mixer, beat together the cream cheese and butter until smooth and creamy, at least 2-3 minutes. Add in the cocoa and blend, then add in the sifted powdered sugar 1 cup at a time until frosting is stiff enough to spread. Add in the salt and vanilla extract and beat to combine. If the frosting is too stiff, you can add a tbsp of cream. Set frosting aside and make the raspberry whipped cream.
- First, blitz up your freeze dried raspberries until they're a fine powder, then sift it to remove seeds. Then In a medium bowl, using the cleaned electric mixer, beat the heavy cream until soft peaks form. Add in the sifted powdered freeze dried raspberries, powdered, sugar, and vanilla and continue to beat until stiffer and spreadable. Set aside.
- Begin constructing your cake. Turn out one of the cake layers and place on a plate or on a cake board (you can place this on a cake decorating turn table if you have one). Use a long, sharp knife to carefully slice off the bump on the top of the cake so that it's flat. Do this with the remaining two layers so that you have three flat layers to work with. Then scoop some of the chocolate frosting into a piping bag with a 1/2 inch opening and pipe a ring of frosting around the edge of the top of the cake, and then fill in the center with a thin layer of frosting. Then spread 1/2 of the whipped cream in the center of the cake, staying within the barrier ring of chocolate frosting Finally, add two tablespoons of raspberry preserves on top of the whipped cream.
- Then place the second layer on top of the filled first, and repeat the filling steps. Finally, add the third cake layer on top, and pipe more chocolate buttercream around the edges and on top of the cake. Scrape off most of the frosting, filling in just the gaps as the "crumb coat." Once the cake is crumb-coated and smooth, put entire cake in the freezer for at least an hour to firm it up.
- Once the cake is firmed and frozen, remove from freezer and pipe final layer of frosting around the edges and on top, using a cake scraper or knife to smooth the frosting. Scoop more buttercream into a new piping bag with a star or other tip of your choosing, and carefully pipe decorations around the base of the cake. Freeze the cake again for 20 minutes to firm up frosting.
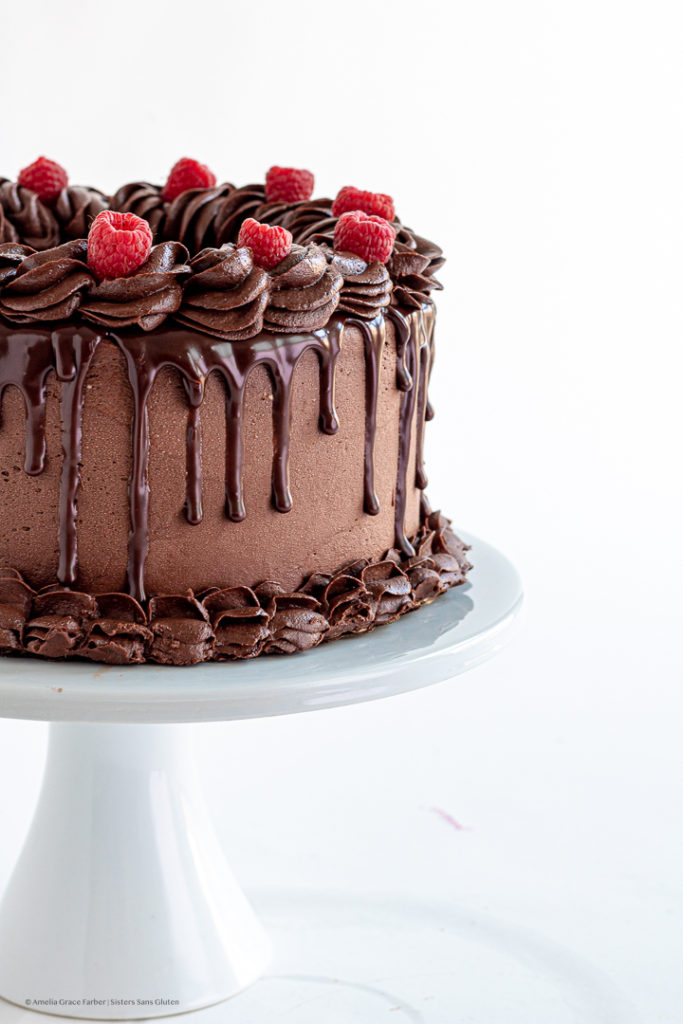
- While the cake is freezing, make the chocolate drip. Pour cream into a heat proof bowl or large measuring cup and microwave for one minute, removing from microwave just as the cream begins to bubble up. Pour the chocolate chips into into the hot cream and let sit for one minute before stirring to combine (it'll take about a minute to get the smooth consistency you want). Once the drip is smooth, pour it into either a piping bag or a squeeze bottle. Remove cake from freezer and carefully pipe or squeeze small amounts of the drip over the edge of the top rim of the cake, all the way around, to achieve the "drip" look. Freeze the cake again for 10 minutes, then remove and finish piping decorations on the top rim of the cake, and place fresh raspberries on top for a last touch.
- I recommend keeping the cake in the fridge until 30 minutes before serving to preserve the structure and firmness. Enjoy!
Tag @sisterssansgluten on Instagram if you snap a photo of your cake!
Food photography and styling by Amelia Farber


5 Comments
Ashley
Such a yummy fudgy chocolate cake! Can’t even tell it’s gluten free. This is a go to for me!
Amelia Farber
Thanks so much Ashley! So glad you enjoyed this one!!
Pingback:
Pingback:
Pingback: