
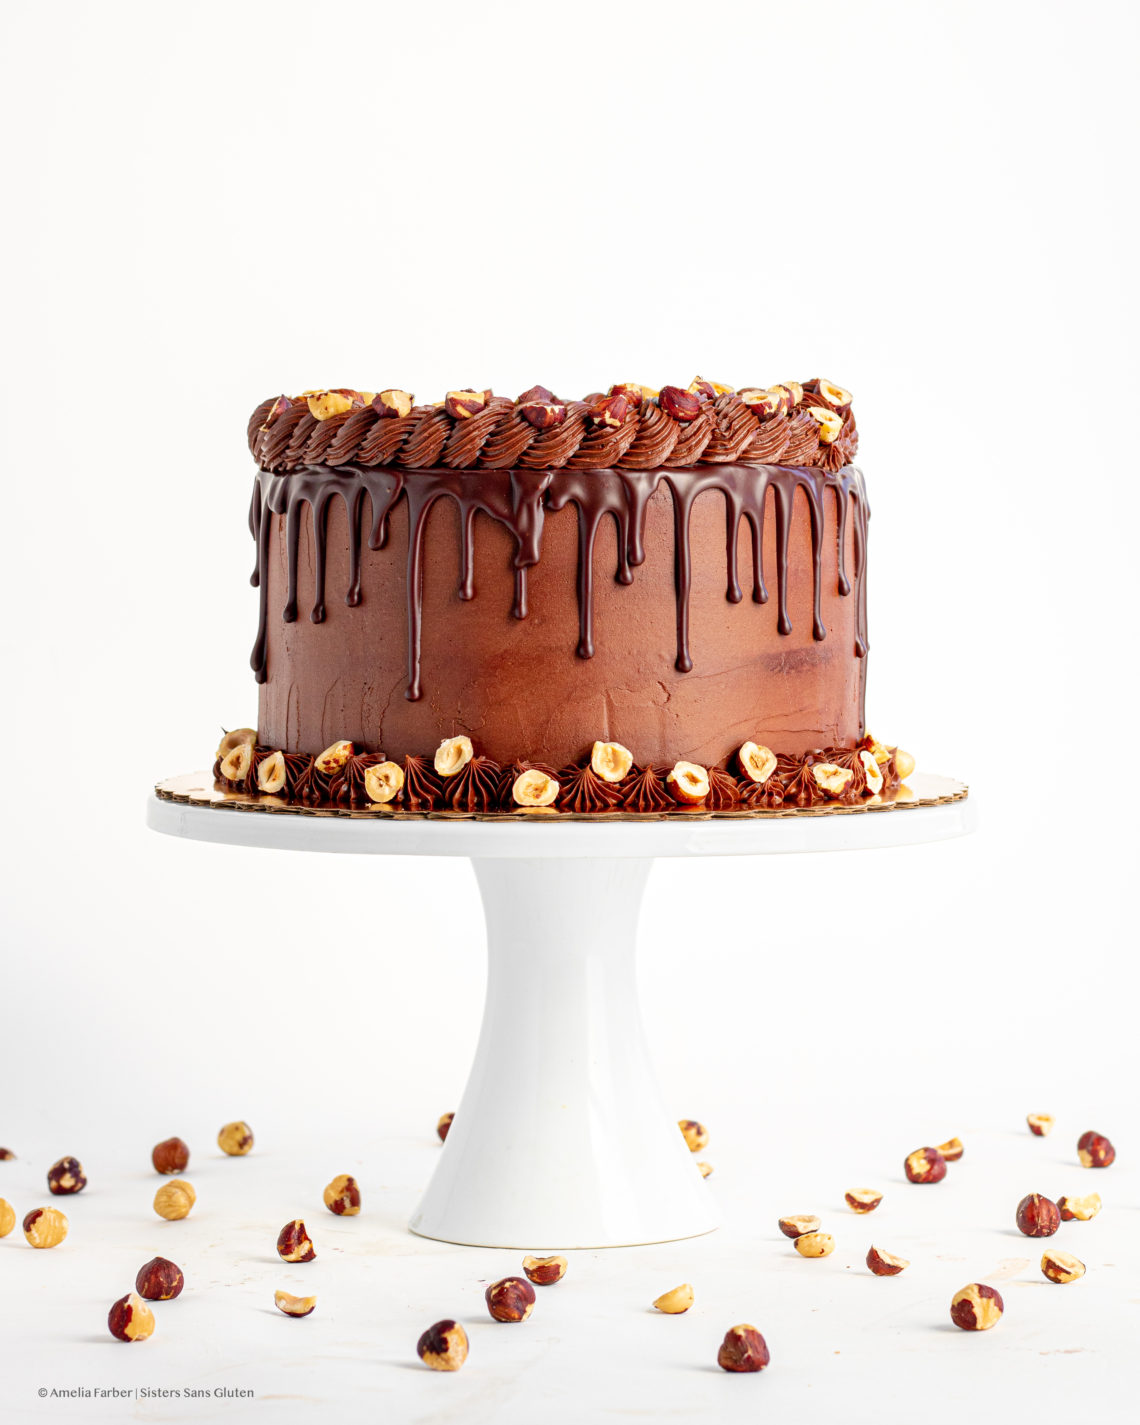
I could not wait for someone to request this pairing as a commissioned cake, and it finally happened! A friend recalled the chocolate hazelnut cupcakes I had made earlier this year (because sharing cupcakes during tough times is always a good thing) and asked it I could make it as a giant birthday cake. Answer: of course. So here it is in all its glory: four layers of the most heavenly, moist, cloud-like hazelnut cake (made with heaps of finely ground, freshly-roasted hazelnuts because that’s truly the only way to eat these perfumed little beauties), enrobed in the silkiest chocolate hazelnut buttercream, topped with dark chocolate ganache, and then decorated with more buttercream and carefully-placed roasted hazelnut halves. We ended up eating all of the cake scraps with a bit of the leftover buttercream (because obviously it’s not acceptable to cut into someone else’s birthday cake prior to pick up and sneak a bite) and it was MIND BLOWING.
Hazelnuts always seem like something that’s far too fancy to work with in a home kitchen (at least over here in the US where hazelnut baked goods are few and far between – this might be majorly different for European home bakers), but they really aren’t! They’re darn expensive, though, so definitely buy them in bulk and you’ll save a few bucks. I like to roast giant batches of raw hazelnuts at a time and then either freeze them or keep them in an air-tight container in my baking stashes to pull out whenever the urge to create something with filberts (the other, lesser-known name for these elegant nuts) arises. One big note is never to use hazelnuts raw, or un-roasted. The flavor is downright disappointing. I once had to opt for an off-brand chocolate hazelnut spread made with un-roasted hazelnuts and honestly, it was like eating dirt. Don’t eat dirt unless you have to, folks. I’ve included all of the instructions below for roasting your very own hazelnuts and it’s gosh darn easy, so go ahead and take the plunge!
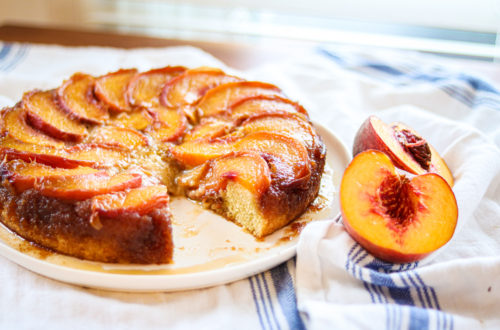
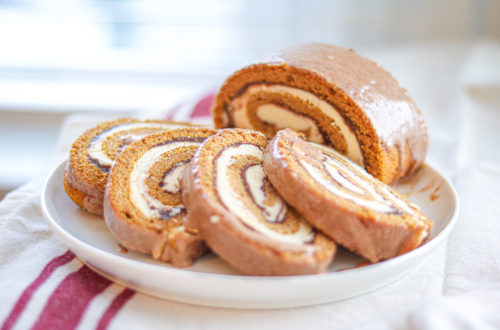
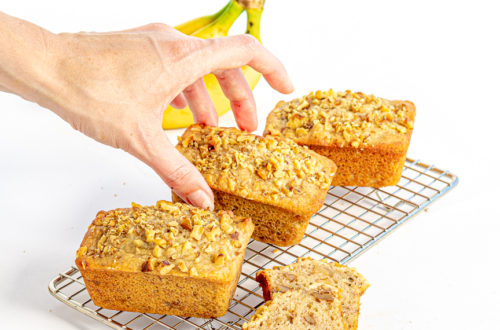
If you’re like me and roasting ALL of the hazelnuts at once, here are a few other ideas for using up those incredible, holiday-perfect flavors: these gorgeous chocolate hazelnut snow cookies (holiday gifts, anyone?), or the small version of this cake, these chocolate hazelnut cupcakes, or a totally different direction with this maple and roasted hazelnut pear upside down cake, or this absolutely stellar “Oregon” swiss roll with a hazelnut cake, filled with marionberry cream and topped with a dark chocolate fudge sauce (inspired by one of the best ice creams in downtown Ashland, Oregon).


Gluten Free Chocolate Hazelnut Layer Cake
Equipment
- Four 9-inch round cake pans
- Electric mixer
- Cookie sheet
- Parchment paper
- Kitchen towel
- Cake scraper
- Piping bag and tips
Ingredients
For the cake layers:
- 6 large eggs
- 1 1/2 Cups canola oil
- 1 1/2 Cups sour cream
- 1 1/2 Cups milk
- 2 tsp vanilla extract
- 2 Cups white sugar
- 2 Cups gluten free 1-1 flour mix with xanthan gum added (if it doesn't have xanthan gum, add 1 teaspoon)
- 3 1/2 Cups finely ground roasted hazelnuts instructions below
- 2 1/2 tsp baking soda
- 1 tsp salt
- 1 tsp baking powder
For the buttercream:
- 4 Cups salted butter room temperature
- 6 Cups sifted powdered sugar
- 2 Cups cocoa powder not dutched
- 3/4 Cup chocolate hazelnut spread nutella or other brands (be sure it is made with roasted hazelnuts)
- 2 tsp vanilla extract
For decoration:
- 1 Cup semi sweet chocolate chips
- 1/2 Cup heavy cream
- Additional chopped roasted hazelnuts
Instructions
- First, roast your hazelnuts. Preheat oven to 350° Fahrenheit. Spread whole, unsalted hazelnuts on a cookie sheet and pop in the oven for 15-20 minutes until the outer skin peels away a bit. Remove and pour into a kitchen towel. Let cool a few minutes, then vigorously rub towel so that some of the hazelnut skins are removed, then let cool completely. Once the nuts are cool, blitz up in a food processor in small batches (1/2 cup MAX per blitzing round or else you’ll end up with hazelnut butter) or nutribullet until you have roasted hazelnut flour.
- Next, make your cake layers. Keep the oven preheated to 350, and grease the four 9-inch round pans with butter or cooking spray. In a large bowl, whisk together the eggs, oil, sour cream, milk, vanilla, and sugar until thick. Then add in the flour, ground hazelnut flour, baking powder and soda, and salt, and stir together until combined. Scoop the batter into the four pans evenly, then bake for 30-40 minutes or until a skewer inserted into the center of a cake comes out clean. Let cakes cool completely before constructing. When cool, carefully slice off the bump on each cake layer so that they are flat. You can wrap layers in plastic and freeze for 30 minutes before constructing to make it easier.
- While the cakes are cooling, make the buttercream. In a large bowl, using an electric mixer, beat together the room temp butter, vanilla, and 1 cup of the powdered sugar until smooth. Add in the rest of the powdered sugar and cocoa powder 1 cup at a time until fully blended. Add in the nutella or other chocolate hazelnut spread and beat until combined. If the frosting is too stiff, add a tablespoon of milk, if it's too loose, add another cup of powdered sugar.
- Construct the cake! Place one layer on a cake board and spread enough frosting to cover the cake layer, then continue adding cake layers with buttercream in between. Finally, crumb coat the entire cake in a thin layer of buttercream and refrigerate or freeze the entire cake until the frosting is set. Remove and frost again with a final coat, then use a new piping tip to decorate cake! If you want to add a chocolate drip, do so before decorating the top of the cake.
- For the chocolate drip: Pour cream into a heat proof bowl or large measuring cup and microwave for one minute, removing from microwave just as the cream begins to bubble up. Pour the chocolate chips into into the hot cream and let sit for one minute before stirring to combine (it'll take about a minute to get the smooth consistency you want). Once the drip is smooth, pour it into either a piping bag or a squeeze bottle. Remove cake from freezer and carefully pipe or squeeze small amounts of the drip over the edge of the top rim of the cake, all the way around, to achieve the "drip" look. Freeze the cake again for 10 minutes, then remove and finish piping decorations on the top rim of the cake. Add additional chopped roasted hazelnuts for a final touch.
- I recommend keeping the cake in the fridge until 30 minutes before serving to preserve the structure and firmness. Enjoy!
Tag @sisterssansgluten on Instagram if you snap a photo of your cake!

Food photography and styling by Amelia Farber


6 Comments
Pingback:
AZALIYA
This recipe is soooo delicious. The roasted hazelnut definitely made this cake so light, delicious and different to other cakes. Nutella buttercream? Heck yes!
Pingback:
Martina
Can I use bob’s red mill hazelnut flour instead of making it myself?
Also if I have to do it myself, is it 3 1/2 cups of hazelnuts when they are whole or once they have been blitzed?
Amelia Farber
Hi Martina! The Bobs red mill hazelnut flour is great but the big difference is that it’s not roasted. If you can find a good process for roasting the flour itself, then definitely could work! But using the flour on it’s own woulld not taste great because unroasted hazelnuts do not have the same flavor as roasted (they don’t have that “hazelnut” flavor until they’re roasted)! The 3 1/2 Cups is of the final packed flour!
Martina
Thank you, I’ll give it a go this weekend. I will roast extra hazelnuts and make Nutella too.