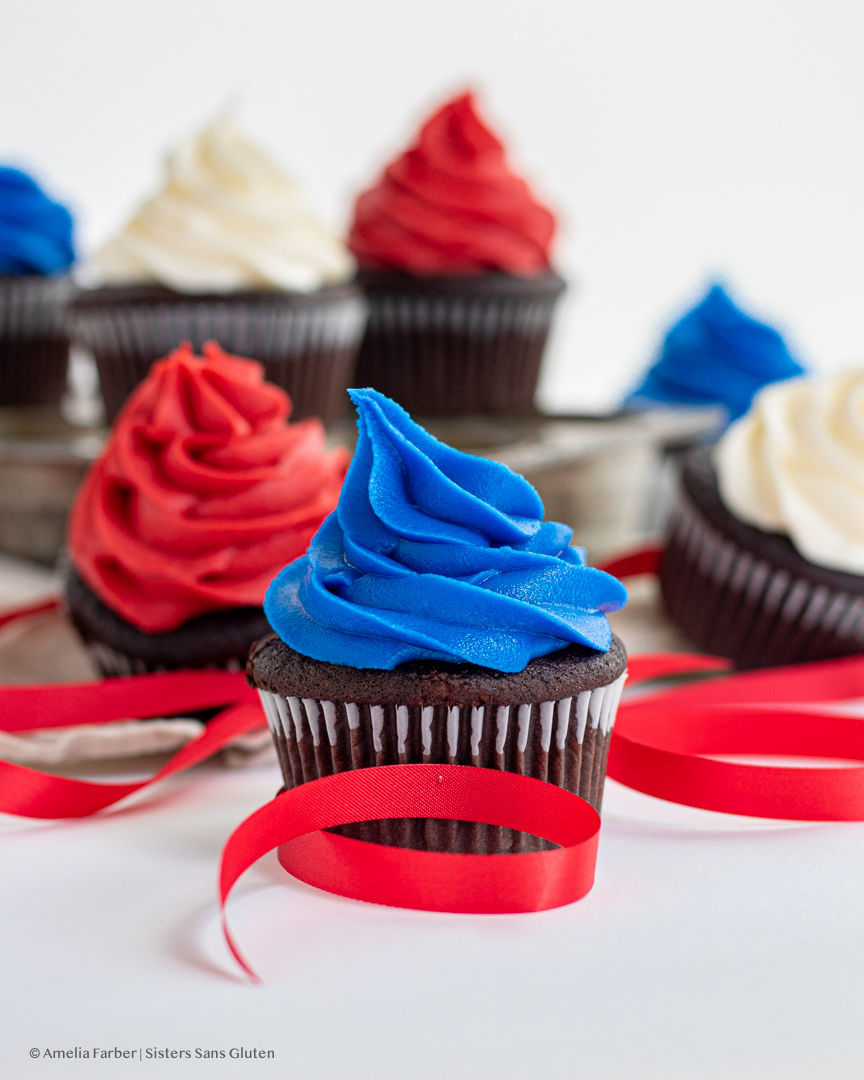
Tis the season for ALL of the red, white, and blue items you own to make their annual appearance, including these brand new gluten free red white and blue CUPCAKES! Thank goodness my friend Natalia asked if I could make a 4th of July treat this year because I realized I had absolutely no “patriotic” bakes on here – although I do consider lots of my bakes to embody the values and goodness of this nation. For example, these Black Lives Matter shortbread cookies, this rainbow pride cake, this trans pride cake, this BLM Swiss roll, these Juneteenth strawberry hibiscus cupcakes, or this black sesame cake commemorating Day of Remembrance – acknowledging our grave mistake as a nation, imprisoning our own Japanese American citizens. Highlighting our flaws as a country is, in my opinion, one of the most patriotic things we can do. Learning from them and not repeating them is even more patriotic.
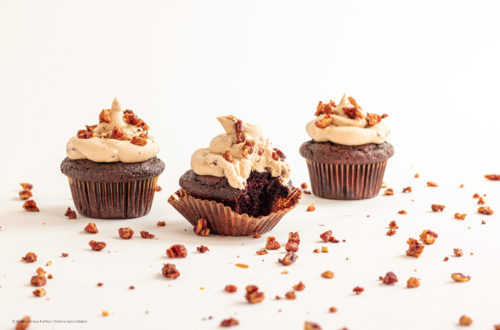
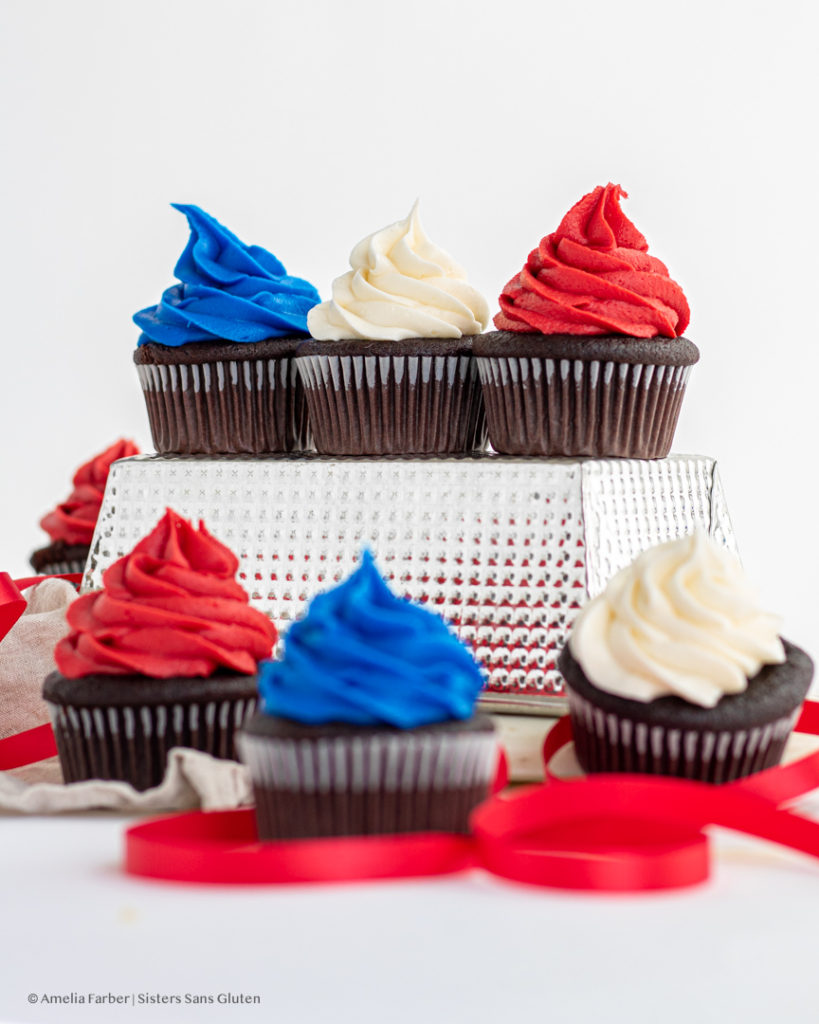
Which brings us to these cupcakes! They’re delicious, they’re chocolate, and they’re topped with three different flavors and colors of buttercream, a small fraction of the many flavors and colors of all of US here in the USA. These cupcakes were meant to be a quick easy project (and now they will be for you because I’ve figured out how to do them right!), but then I quickly realized that all those rumors I had heard from other bakers about how getting a deep colored buttercream was tricky were TRUE and I was going to have to implement a couple of hacks. The winning hack is the one in the recipe below and it’s truly one of the more terrifying ones, but trust me, it’ll all work out and you didn’t just ruin two bowls full of perfect buttercream. It’s…the microwave method. Yes, you heard that right. You’re going to make a perfectly-good batch of American buttercream (literally just butter and powdered sugar) and then RUIN it by sticking it in the freaking microwave. MUAHAHA. It’s fine, it’ll all be fine. You just have to trust the baking gods and know that I’ve freaked out enough for the all of us and come out the other side with gorgeously-deep colors and it’s all worth it.
Tips for not losing your sh*t while making these colorful buttercreams:
- Breathe.
- Make your buttercream as you would normally make it – butter, powdered sugar, flavoring, etc. And add a LOT of gel food coloring. Make sure you’re using gel coloring – that’s the good stuff. I added a TON – like 2-3 tsp of red color and maybe 1 1/2 – 2 tsp of blue color. If you’re worried about the colors having an off taste (depending on the brand, sometimes red gel color can be a bit weird), add a bit and then taste it as you go. But add as much as you can first, before microwaving.
- Once your buttercream is perfect in every way, stick it in the microwave for ONLY 15 seconds at a time. This is key. 15 seconds, then take it out and stir it a bunch (don’t beat it with the electric mixer), then stick it back in the microwave for another 15 seconds. Repeat this 3-4 times – by this point, you’ll actually start to see the color change! For me, the color didn’t change for the first three 15 second bursts and I really started to freak out in earnest because I really thought I’d just ruined an entire bowl of strawberry buttercream. For some chemical reason, the color change happens after 3-4 times.
- Stir it a lot after that 4th or 5th stint in the microwave! You’ll really see the deep color pop at this point which is awesome, but you’ll also have a buttery mess on your hands. Don’t worry, just pop it in the fridge! You’re essentially just bringing the butter back to room temp quickly. I refrigerated mine for 30 minutes, then stirred it to incorporate the colder stuff around the edge of the bowl so that it would chill evenly. Then put it back for another 30-45 minutes and stir again.
- Don’t leave your buttercream in the fridge too long or it won’t be pipeable (aka it’ll just be hard butter again lol).
- I found that once I piped the colored buttercream, it was still softer than before, so I kept my cupcakes in the fridge until just before serving them.

Gluten Free Red White and Blue Cupcakes
Equipment
- Two 12-cupcake cupcake pans
- Electric mixer
- Microwave safe bowls
- Piping bags and tips
Ingredients
For the cupcakes:
- 2 large eggs
- 1 Cup sour cream
- 3/4 Cup canola oil
- 2 tsp vanilla extract
- 1 3/4 Cups white sugar
- 1 1/2 Cup gluten free 1-1 flour mix with xanthan gum added (if it doesn't have xanthan gum, add 1/2 teaspoon xanthan gum) – link below to the one we use
- 1/2 Cup sweet rice flour
- 1/2 Cup arrowroot starch
- 3/4 Cup dutched cocoa powder
- 1 1/2 tsp baking soda
- 1 tsp baking powder
- 1/2 tsp salt
- 1 Cup piping hot weak coffee
For the blue buttercream:
- 1 1/2 Cups salted butter room temperature
- 3 Cups sifted powdered sugar
- blue gel food coloring
- 3 tsp vanilla extract
For the red buttercream:
- 1 1/2 Cups salted butter room temperature
- 3 Cups sifted powdered sugar
- 3-4 Tbsp powdered sifted freeze dried strawberries instructions below
- 2 tsp strawberry extract
- 1/2 tsp vanilla extract
- red gel food coloring
For the white buttercream:
- 1 1/4 Cup salted butter room temperature
- 1/4 Cup cream cheese
- 3 Cups sifted powdered sugar
- 2 1/2 tsp clear vanilla extract
Instructions
- First, make your blue and red buttercream! These will need to chill for a couple of hours so make them before you make the cupcakes. For the red buttercream: in a medium microwave safe mixing bowl, using an electric mixer, beat the butter for 1-2 minutes then add the powdered sugar one cup at a time, beating in between each addition. Then blitza up your freeze dried strawberries in a food processor or nutribullet until they're a fine powder, and sift all of them into the buttercream. Finally, add the vanilla, strawberry extract and the red gel food coloring (quite a bit – 2-3 tsp of coloring) and beat until smooth. You can stop there, but to get a proper deep red color, you'll then need to microwave the bowl of buttercream for 15 second intervals, stirring with a spatula in between each interval. I did a total of 4-5 intervals of 15 seconds and got the color you see in the photos. The butter will start to melt and it will look terrible – don't freak out! Just stir it vigorously, then cover with plastic wrap and pop it in the fridge. Keep in the fridge for about 90 minutes, removing it every 30 minutes to stir it, until the buttercream is back to it's original consistency. Don't leave in the fridge longer or it will harden and you'll have to bring it back to room temp before piping it.
- Repeat this entire process for the blue buttercream, but without the freeze dried strawberries or strawberry extract. You're welcome to add another extract if you'd like to flavor this buttercream as well! Follow the same process once the buttercream is made – microwaving in 15 second bursts and stirring in between until the color has deepened (the color won't change until the 3rd or 4th burst of 15 seconds in the microwave so keep going!). Then chill in the fridge for up to 90 minutes, stirring occasionally, until it's back to it's original consistency.
- While your colored buttercreams are in the fridge, make your cupcakes! Preheat the oven to 300° Fahrenheit and line your two cupcake pans with paper cupcake liners. In a large bowl, whisk together the eggs, sour cream, oil, vanilla and sugar until smooth, then add in the gluten free 1-1 flour, sweet rice flour, arrowroot starch, dutched cocoa powder, baking powder, baking soda, and salt and whisk until fully blended (it will be fairly thick). Pour in the hot weak coffee and stir with a spoon or spatula until glossy and smooth, then spoon into the prepared cupcake pans and bake for 30-40 minutes or until the tops of the cupcakes spring back with touched or until a skewer inserted into the center of a cupcake comes out clean. Cool cupcakes completely to room temp before frosting.
- Finally, while your cupcakes are cooling, make the white buttercream! Beat the butter with the cream cheese for 1-2 minutes, then add your sifted powdered sugar 1 cup at a time. Finally, add the clear vanilla (doesn't have to be clear but this will give you a whiter frosting) and beat to combine.
- Lastly, frost your cupcakes! Scoop each buttercream into a piping bag with your choice of piping tip, and frost! Keep cupcakes at room temp or in the fridge until just before serving.
Tag @sisterssansgluten on Instagram if you snap a photo of your cupcakes!

Food photography and styling by Amelia Farber