Custard pie has been one of my absolute favorite Thanksgiving dessert table treats since I can remember. To give you a bit of background – my mother hails from Alabama (moved to Oregon when she was in 8th grade), so we continue to ride the long coattails of southern cuisine, from pecan to karo to custard pies, to green jello salads (I had a MIND-blowingly-good one when we visited family outside of Montgomery when I was five and still think about it *sigh*), to hush puppies and family-secret barbecue sauce. Custard pie is arguably one of the simplest ones on that list, but it’s just so dang good! Now, after watching hours of Erin McDowell videos on the glorious world of every type of pie out there, I’ve learned that custard pies is, in fact, an entire category (that has my name written ALL over it), but the custard pie I hold most dear is plain and simple: evaporated milk, eggs, sugar, some cinnamon on top and call it a day. So, when thinking of flavors to try for this year’s pies, and for the second attempt at a new-and-improved gluten free pie crust recipe for our collab with the amazing Emily over at Glutenless Apron, I of course had to go for a custard pie. This time, with toasted coconut and coconut milk!
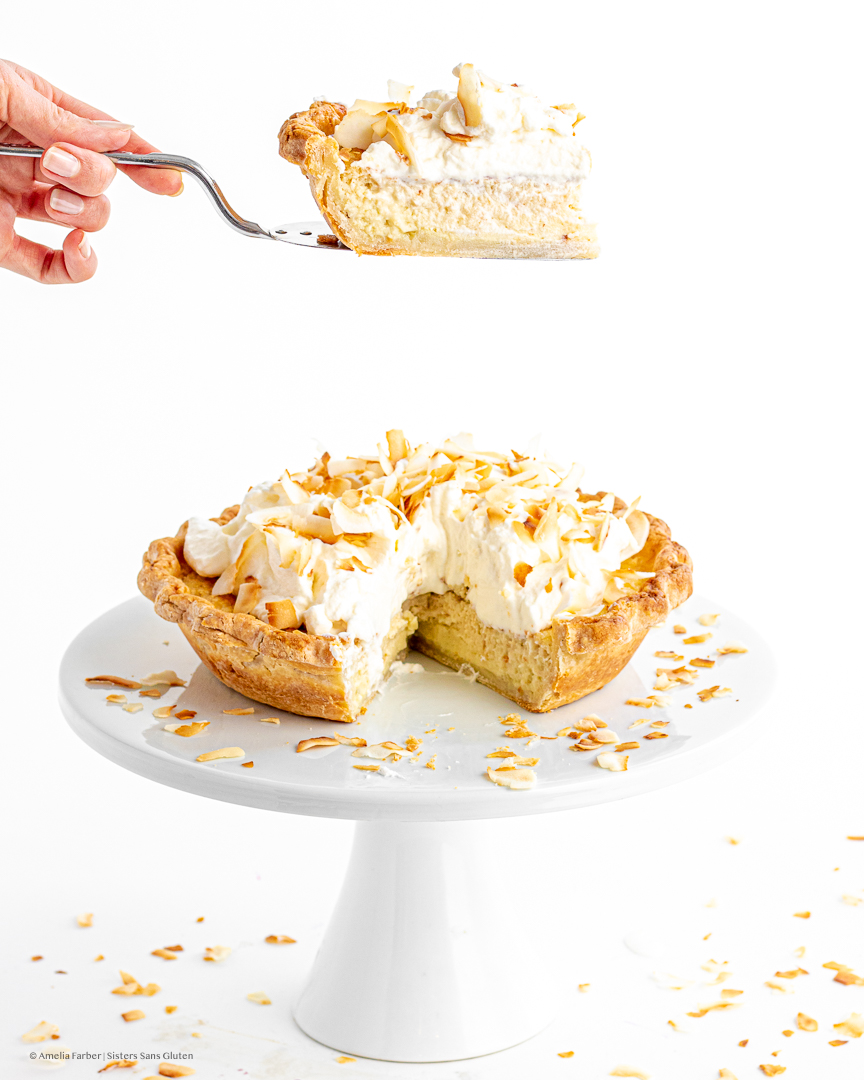
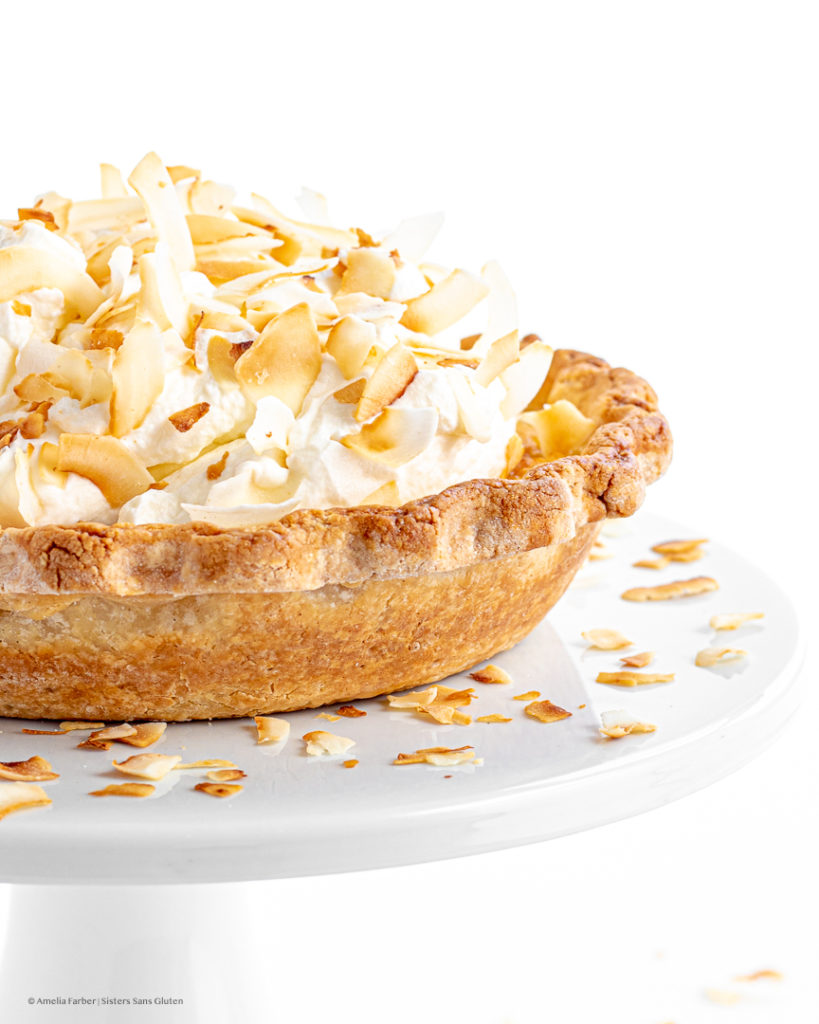
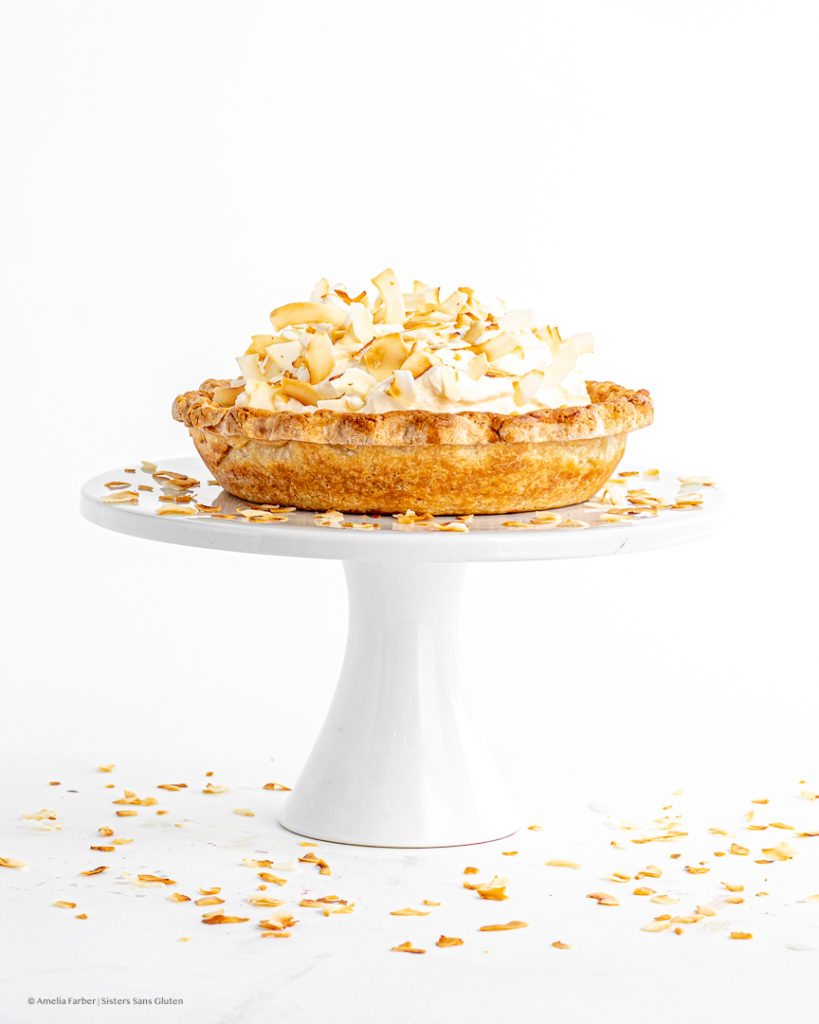
This dreamy gluten free coconut custard pie is lightly sweet, filled with toasted, unsweetened desiccated coconut, and topped with floofs of coconut whipped cream and more toasted coconut flakes (because why not). The crust is our newest exciting accomplishment: a flaky gluten free crust that’s sturdy enough to pick up out of the pie pan! Thanks to Erin McDowell for virtually coaching the world on the magic that is a truly well-made pie crust. So, here’s our creamiest, silkiest new pie for your Thanksgiving (or other special occasion) dessert table! If you’re looking for more pie inspiration, we highly recommend watching Erin’s videos, or checking out her newest gift to the world: The Book on Pie (we just got it and WOW).
And, to complete your gluten free Thanksgiving – fill in the savory side with Emily’s gluten free stuffing! It’s rich, packed with cremini mushrooms and fresh herbs and it’s a breeze to toss together for the big day. Emily has tons of other gorgeous sides and appetizers that are perfect for Thanksgiving so take a gander at her site! If you’re looking for other Turkey Day desserts, check out our glazed cranberry bundt, or our perfect cranberry apple pie (flaky gluten free crust strikes again!), our caramel apple brandy bundt, or this dreamy parsnip and ginger custard tart!
Gluten Free Toasted Coconut Custard Pie
Equipment
- 9-inch metal pie tin
- Electric mixer
- Parchment paper
- Pie weights or 4-5 cups white sugar
- Waxed paper
- Rolling Pin
- Plastic wrap
- Frying pan
- Pie crust shield or tin foil
Ingredients
For the pie crust:
- 1 1/4 Cups plus 2 Tbsp gluten free 1-1 flour mix with xanthan gum included (if the mix doesn't have xanthan gum, add 1/2 tsp of xanthann gum)
- 2 Tbsp sweet rice flour
- 1/4 tsp additional xanthan gum
- 1/4 tsp salt
- 1/2 Cup cold butter
- 1/2 Cup ice water plus extra
For the pie filling:
- 1 Cup full fat coconut milk
- 1 Cup heavy cream
- 1 Cup toasted unsweetened desiccated coconut instructions below
- 1 tsp vanilla extract
- 1 tsp coconut extract
- 1/4 tsp salt
- 2 large eggs
- 2 large egg yolks
- 3/4 Cup white sugar
For the topping:
- 2 Cups cold heavy cream
- 1/2 tsp coconut extract
- 1/2 tsp vanilla extract
- 2 Tbsp powdered sugar
- 1/2 Cup toasted unsweetened large coconut flakes instructions below
Instructions
To make the crust:
- First, whisk the flours, salt, sugar, and xanthan gum together in a large metal bowl, then chill the flour in the fridge for 15 minutes. Then remove the bowl, take the butter out of the fridge (it should be very cold, but not frozen) and slice into 1/2 inch cubes. toss the butter cubes in the flour to coat. Carefully press each chunk so that it separates into two flatter pieces, and toss everything again to coat. Slowly pour in 1/4 cup of ice-cold water (I put a handful of ice cubes into a large glass of chilled water) and, using your hands, toss everything together again to combine. This is hydrating your dough! Continue to add about a tablespoon of ice water at a time, tossing everything and carefully pressing it together to feel if the dough is hydrated. The dough should be able to be pressed together without crumbling apart, but should NOT be wet or sticky. Do not add too much water, and do not mix the butter completely into the flour (the large bits of butter will make a flakier dough).
- Press the dough together, then lightly flour a surface and carefully roll out and fold the rolled out dough twice, then press together again into a round disk (this will ensure that each chunk of butter is fully coated in flour – if it isn't, the butter will melt out of the crust). Wrap disk in plastic wrap and refrigerate for 30 minutes.
- Now, par-bake the bottom crust! Preheat the oven to 425° then remove the crust from the fridge. Lightly flour a waxed-paper lined surface, and place the unwrapped crust on the surface. Lightly flour the top of the crust, and the rolling pin, and then roll out the crust to 1/4 inch thickness, at least 10 inches in diameter. Lift crust into the pan (or put the 9-inch pie tin upside down on the crust and lift and turn it over). Carefully press the crust into the pan, and use scissors to trim the extra crust around the edge so that an inch beyond the edge of the pan remains. Then tuck the edge of the crust underneath itself so that it forms a thick edge, then crimp the edge how you want to! Then, refrigerate the prepared crust, covered in plastic, for 30 minutes before baking (the butter+crust must be cold before putting it into the oven).
- Once the prepared crust is chilled, remove from fridge, and use a fork to dock the crust (poke holes in it) all across the bottom and along the sides. Then place a large piece of parchment paper in the crust, and fill with pie weights (or if you don't have any, scoop a few cups of dry uncooked beans or white sugar into the parchment paper to weight it down), this will keep your crust from puffing up/drooping. Bake for 15 minutes at 425 to par-bake the crust. While it's baking, whisk together the one egge and teaspoon of water to create an egg wash. When done, remove the pie weights and immediately brush the entire inside of the crust with some of the egg wash. Let the crust cool completely before filling.
To make the filling:
- First, toast your coconut. Spread the unsweetened, desiccated coconut in a large frying pan and heat over meadium, stirring frequently, until coconut begins to turn golden. Do not burn! Remove from heat once most of the coconut is golden brown and spread on a plate or paper towel to cool.
- Once the coconut is cool, preheat the oven to 350° Fahrenheit and make the filling. In a large bowl, whisk together the coconut milk, cream, cool toasted coconut, vanilla, coconut extract, salt, and sugar until smooth. Add in the eggs and egg yolks and whisk until fully combined and smooth. Then, pour filling into the cooled, par-baked crust. I recommend shielding the edge of your pie crust with a pie crust shield or pieces of tin foil for the first 20 minutes of baking.
- Bake the pie for 35-45 minutes or until the center of the pie is still loose/jiggles but the edges (about 2-3 inches in) hold their shape. Remove the pie shield or tin foil halfway through baking to allow crust to brown. Remove from oven and let cool completely before topping.
To finish the pie:
- While the pie cools, make your topping. Spread your unsweetened, flaked coconut in a large frying pan and heat over medium, stirring frequently, until the flakes turn golden brown. Remove and let cool on a paper towel.
- While coconut cools, make your whipped cream. Beat the cream on medium-low speed with an electric mixer, until thicker but before soft peaks form. Add the vanilla, coconut extract, and powdered sugar, and continue beating until soft-medium peaks form, then set aside.
- Once pie is cool, top with swoops of coconut whipped cream and your toasted coconut flakes, then serve! Store pie in the fridge for up to a week.
Tag @sisterssansgluten on Instagram if you snap a photo of your pie!
Food photography and styling by Amelia Farber