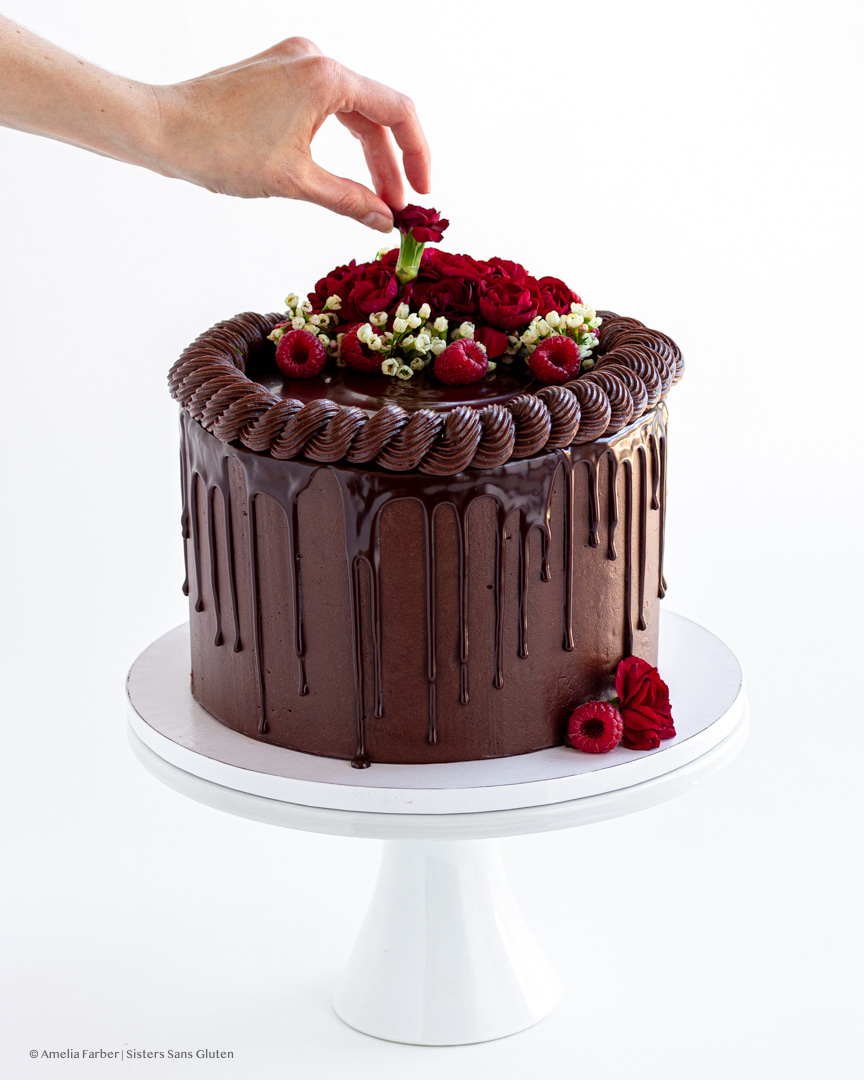
Is there anything better than a slice of gloriously-rich chocolate cake. Rhetorical, of course. This one was a particular stunner: four layers of the fluffiest, most decadent gluten free chocolate cake layers you’ll ever eat, filled with chocolate cream cheese buttercream (YES you heard that right – cream cheese frosting in CHOCOLATE? yes), raspberry puree + preserves, and bright raspberry whipped cream, and enrobed in more chocolate cream cheese buttercream, a rich chocolate ganache drip, and topped with gorgeous fresh flowers and raspberries. Just go ahead and let out that sigh of relief that it’s ALL GLUTEN FREE and serve yourself a second or third piece. One of the best parts of this cake is that chocolate cream cheese buttercream: wildly indulgent, with a slight fresh tang from the cream cheese, and this cake has loads of it through each layer and wrapped around the whole chocolatey masterpiece. It may look complicated, but I promise if you follow each step carefully, you too can be gazing at an outstanding chocolate cake, either for sharing with family and friends, or for savoring all on your own (totally reasonable – it also freezes very well!).
We’ve got a handful of other chocolate cakes on our site – with regular buttercream, with mousse (a hell of a show stopper for a dinner party or birthday dinner), with vanilla bean buttercream, with or in cupcake form (we’re talking chocolate raspberry cupcakes, chocolate truffle cupcakes – with an actual truffle inside!! – chocolate hi hat cupcakes, German chocolate cupcakes, even these fudgy chocolate s’mores cupcakes with a graham cracker base and floofy homemade toasted marshmallow topping. There’s something to be said for a good solid chocolate cake recipe, but there’s also something to be said for diversifying and collecting as many chocolatey recipes as you can, just saving them for a rainy day or bad day or a good day or a birthday because man oh man any one of them would be a welcome bake in our house.
A few tips for the best chocolate cakes: include coffee!! Coffee has a brilliant way of highlighting and heightening chocolate to unforeseen levels of decadence (this cake includes hot coffee); use good quality cocoa! I love using dutched cocoa (our favorite is linked), which produces a rich, velvety cocoa and edges on dark chocolate when used in frostings (if you’re going for a milk chocolate frosting, use regular cocoa powder like Hersheys or Guittard). Use low-sugar jam (cake is already sweet – and it tastes sweeter if you use less sugar overall!) like our favorite – St. Dalfour jams (no added sugar, just made with fruit and fruit juices). Or get creative and try black cocoa! We have an amazing black cocoa cupcake recipe if you’re up to give it a try (tastes like oreos!). Also, don’t forget the salt! Chocolate is heightened beautifully by salt – I always add a bit more to my chocolate buttercream to give it a deeply rich flavor.
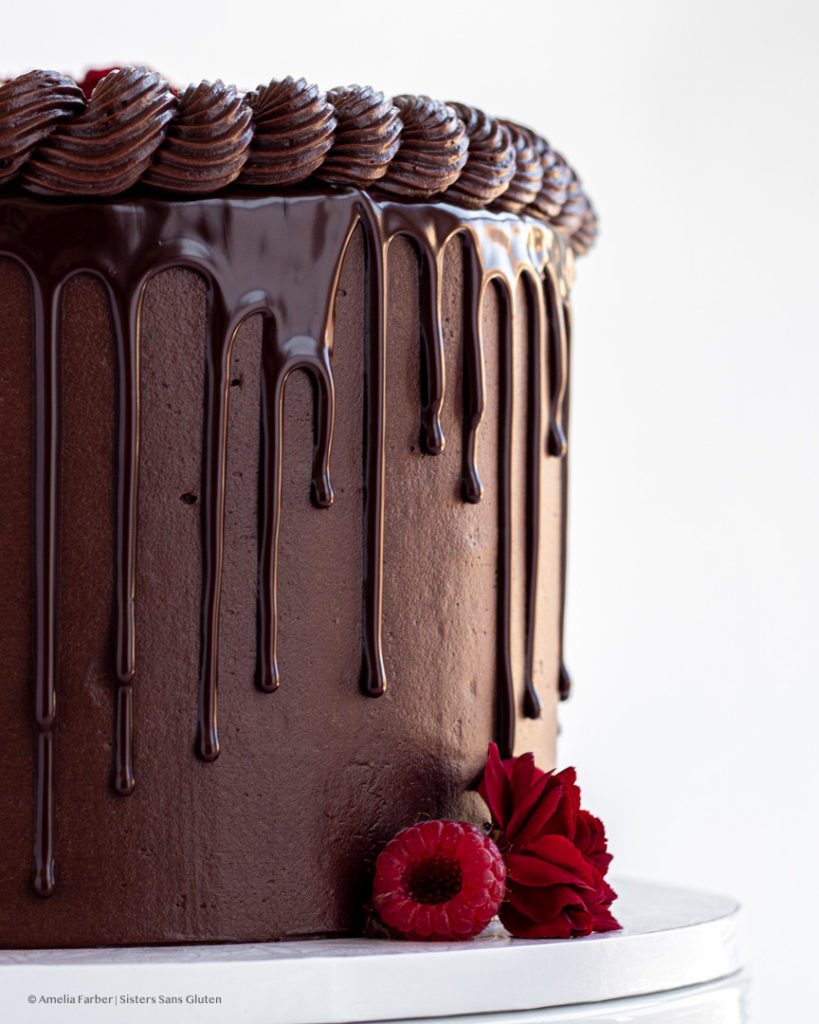
Gluten Free Raspberry Chocolate Layer Cake with Chocolate Cream Cheese Buttercream
Equipment
- Four 9-inch round cake pans
- Electric mixer
- Piping bags and tips
- Palette knife
- Cake scraper
- Cake board or platter/plate
Ingredients
For the cake layers:
- 4 large eggs
- 2 Cups sour cream
- 1 1/2 Cups canola oil
- 3 tsp vanilla extract
- 3 1/2 Cups white sugar
- 2 Cups gluten free 1-1 flour mix with xanthan gum added (if it doesn't have xanthan gum, add 1 teaspoon xanthan gum)
- 2/3 Cup packed blanched almond flour
- 2/3 Cup arrowroot starch
- 2/3 Cup sweet rice flour
- 1 1/2 Cups dutched cocoa powder
- 3 tsp baking powder
- 2 tsp baking soda
- 1 tsp salt
- 2 Cups hot coffee
For the cream cheese buttercream:
- 3 Cups salted butter room temperature
- 3 8 oz packages cream cheese
- 5-6 Cups powdered sugar
- 1 1/2 Cups dutched cocoa powder
- 1/2 tsp salt
- 1 tsp vanilla extract
For the decoration/layering:
- 1 Cup heavy cream
- 2 Tbsp powdered sugar
- 1/2 tsp vanilla extract
- 2 Tbsp powdered, sifted, freeze dried raspberries
- 3/4 Cup raspberry jam/preserves
- 1/4 Cup mashed fresh raspberries
- 1/2 Cup heavy cream
- 1 Cup semi sweet chocolate chips
- flowers and more fresh raspberries optional
Instructions
- First, make your cake layers! Preheat the oven to 300° F and grease four 9-inch round cake pans with either butter or cooking spray. In a medium bowl, whisk together all of the dry cake ingredients (flour, sugar, cocoa powder, baking soda, baking powder, salt).
- In a large bowl, whisk together the the eggs, sour cream, canola oil, and vanilla extract until fully blended and creamy. Once combined, add in the dry ingredients and use a spatula or wooden spoon to mix. Fun step! Poor in the piping hot coffee and stir until fully combined (it’ll take some working). Pour cake batter evenly into the four greased cake pans and bake for 35-45 minutes or until a knife inserted into the middle of the cake comes out clean.
- Once the cakes are baked, let them cool completely before constructing the cake. While the cakes are cooling, make your cream cheese buttercream. In a large bowl, using an electric mixer, beat together the cream cheese and butter until smooth and creamy, at least 2-3 minutes. Add in the cocoa and blend, then add in the sifted powdered sugar 1 cup at a time until frosting is stiff enough to spread. Add in the salt and vanilla extract and beat to combine. If the frosting is too stiff, you can add a tbsp or two of cream. Set frosting aside and make the raspberry whipped cream and other fillings.
- First, blitz up your freeze dried raspberries until they're a fine powder, then sift it to remove seeds. Then In a medium bowl whisk the heavy cream until soft peaks form. Add in the sifted powdered freeze dried raspberries, powdered, sugar, and vanilla and continue to beat until stiffer and spreadable. Set aside.
- Then mash up the raspberries for the filling in a small bowl, and then stir together with the raspberry jam.
- Then begin constructing your cake. Turn out one of the cake layers and place on a plate or on a cake board (you can place this on a cake decorating turn table if you have one). Use a long, sharp knife to carefully slice off the bump on the top of the cake so that it's flat. Do this with the remaining two layers so that you have three flat layers to work with. Then scoop some of the chocolate frosting into a piping bag with a 1/2 inch opening and pipe a ring of frosting around the edge of the top of the cake, and then fill in the center with a thin layer of frosting. Then spread 1/2 of the whipped cream in the center of the cake, staying within the barrier ring of chocolate frosting Finally, add a quarter of a cup of the raspberries + raspberry preserves on top of the whipped cream.
- Then place the second layer on top of the filled first, and repeat the filling steps. Finally, add the fourth cake layer on top, and pipe more chocolate buttercream around the edges and on top of the cake. Scrape off most of the frosting, filling in just the gaps as the "crumb coat." Once the cake is crumb-coated and smooth, put entire cake in the freezer for at least an hour to firm it up.
- Once the cake is firmed and frozen, remove from freezer and frost final layer of frosting around the edges and on top, using a cake scraper or knife to smooth the frosting. Scoop the last of the buttercream into a new piping bag with a star or other tip of your choosing, and set aside for the final decoration. Freeze the cake again for 20 minutes to firm up frosting.
- While the cake is freezing, make the chocolate drip. Pour cream into a heat proof bowl or large measuring cup and microwave for one minute, removing from microwave just as the cream begins to bubble up. Pour the chocolate chips into into the hot cream and let sit for one minute before stirring to combine (it'll take about a minute to get the smooth consistency you want). Once the drip is smooth, pour it into either a piping bag or a squeeze bottle. Remove cake from freezer and carefully pipe or squeeze small amounts of the drip over the edge of the top rim of the cake, all the way around, to achieve the "drip" look. Freeze the cake again for 10 minutes, then remove and finish piping decorations on the top rim of the cake, and place fresh raspberries and flowers on top for a last touch.
- Serve immediately, or keep in fridge to preserve structure and then remove from fridge an hour before serving.
Tag @sisterssansgluten on Instagram if you snap a photo of your cake!
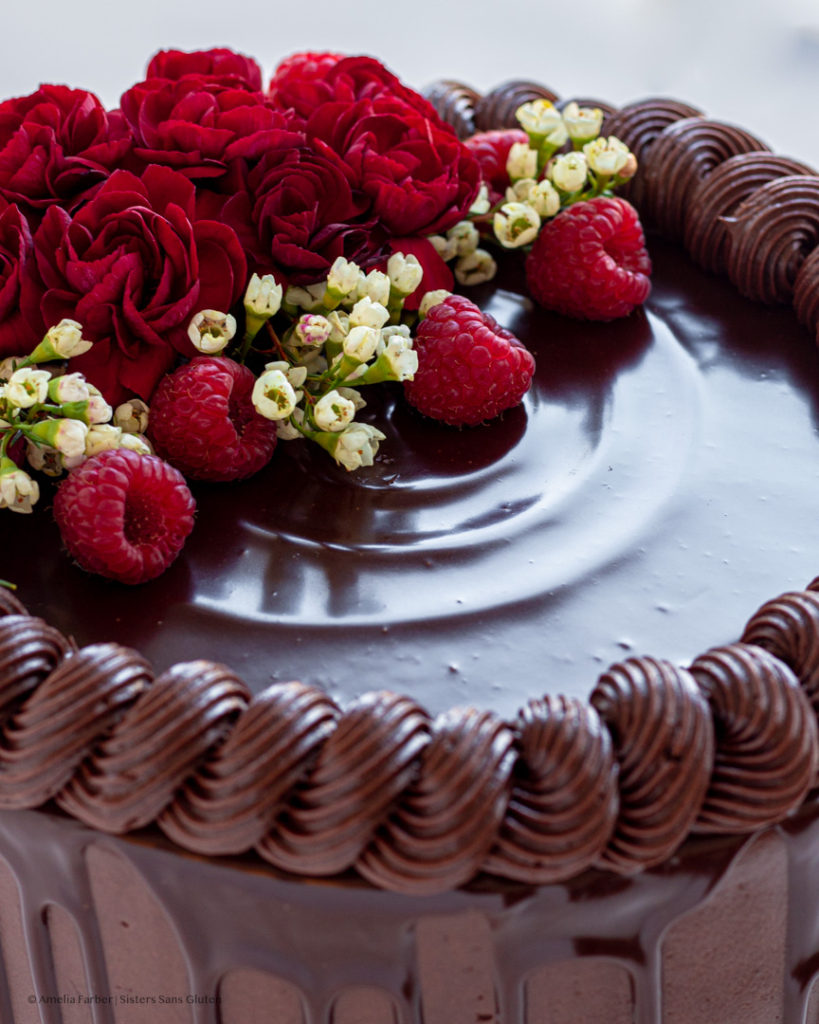
Food photography and styling by Amelia Farber



6 Comments
Pingback:
Pingback:
Pingback:
Pingback:
Azaliya
The cake is super moist and delicious! We could not believe that it is gluten free! Thank you so much for sharing the recipe!
Pingback: