

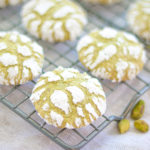
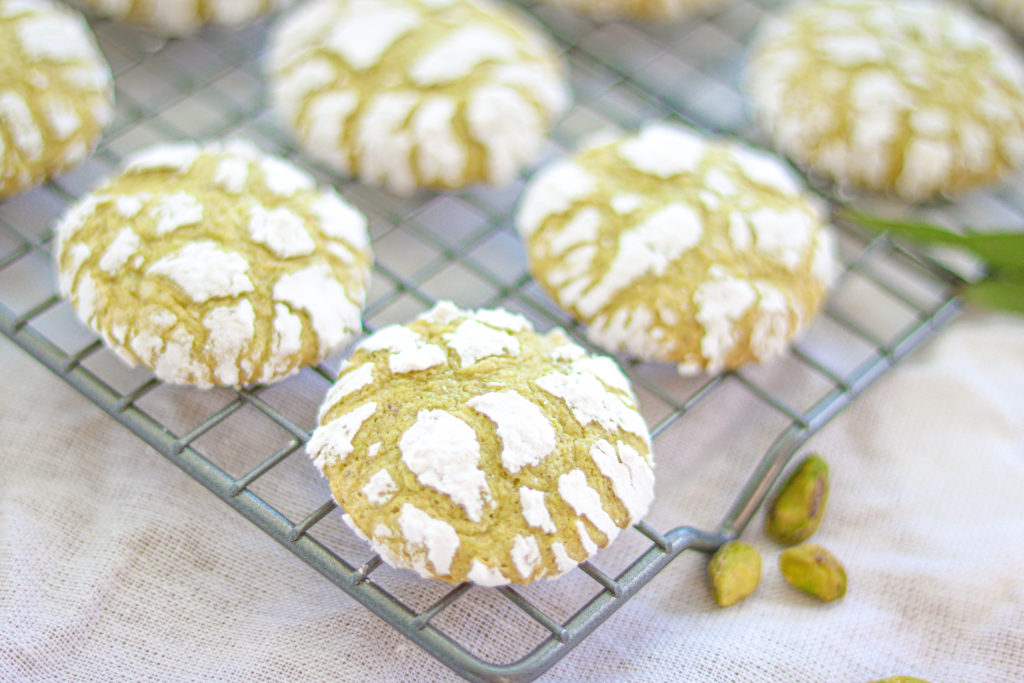
My mother makes a mean chocolate crinkle cookie, and a lemon version as well. Whether you call them crinkle, earthquake, or snow cookies, they’re one of the most visually delightful cookies with satisfyingly geometric splits and cracks that come from the dough being rolled in copious amounts of powdered sugar before baking and melting into this white-clad form. The earthquake title was recently brought to my attention by a coworker who only knew them by that name – but, as we’ve referenced before, a rose by any other name… This pistachio version looks quite similar, except for the telltale green hue that comes from heaps of ground the ground green nuts. These cookies not only are an homage to our mother’s stellar contribution to the holiday cookie table every year, but also to the humble pistachio. If someone gave me a bag of unshelled pistachios, good luck getting that back, but seeing as I usually only have the shelled version, they sit, ignored and alone, on top of the fridge. I decided a cookie was in order, one that mimics both the chewy almond cookies that we’ve made before and our mother’s chocolate crinkles, but leans almost entirely on these tiny green nuts.
For these cookies, then, tons of unshelled, unsalted, and unroasted pistachios were needed (though if you do want a bit of a drier dough and nuttier flavor, try roasting them in the oven before grinding them!). If you’ve got endless time and finger strength, totally go for unshelling these bad boys yourself, but I opted for a bag of raw, unshelled pistachios straight from the grocery store (thank goodness). If you really want a verdant tray of goodies, you’re more than welcome to add in a bit of green food coloring, but with nearly three cups of ground pistachios packed into these little crackly cookies, you already get quite a nice soft color (very festive). And bonus, these cookies are not only gluten free (as is everything else on our site) but also dairy free!
A note on this type of cookie: unfortunately, per the instructions below, you really do need to chill the dough for not an insignificant amount of time for it to reach workable consistency. I recommend either making the dough in the morning and letting it chill in the fridge while you’re at work or school, or making it in the evening and letting it chill overnight. The longer it has in the fridge, the better. If it hasn’t had sufficient time to chill, the dough will be too jiggly and sticky and will be impossible to roll into balls and roll in powdered sugar (trust me, this was a recipe development highlight – lots of green monster hands ensued until I let the bowl sit in the fridge for a few more hours). Other than that, these cookies are a breeze! You can size them up or down depending on how many you want – with the size mentioned in the instructions, you’ll end up with about 60, but you can have larger cookies as well! And last note – the rose water is TOTALLY OPTIONAL. The cookies are fantastic with just the pistachio flavor, so unless you want an added note in there, don’t worry about adding the rose. Do what tastes good!

Gluten Free Pistachio Snow Cookies
Equipment
- Cookie sheet
- Food processor or NutriBullet
Ingredients
- 1 1/4 Cup gluten free flour 1-1 mix with xanthan gum
- 2 3/4 Cup pistachio flour unsalted, unroasted pistachios finely ground using a food processor or nutribullet
- 1 1/4 Cup arrowroot starch
- 2 tsp baking powder
- 1/2 tsp salt
- 4 eggs
- 1 1/2 Cup white sugar
- 2 tsp vanilla extract
- 3/4 Cup canola oil
- 1 Tbsp rose water optional
- 2 Cups powdered sugar for rolling
Instructions
- Finely grind all of the pistachios, then dump into a medium bowl. Add in the flour, starch, salt, and baking powder and whisk until combined. In a large bowl, using an electric mixer, beat together the eggs and sugar until lighter and fluffy (about a minute), then add in the oil, rose water (optional), and vanilla and beat until combined. Pour the dry ingredients into the large bowl with the egg mixture and stir together using a spatula. It will be stiff but not rollable – chilling the dough will make it less sticky and more manageable for rolling into balls.
- Cover the large bowl with plastic wrap and chill in the fridge for at least six hours (this is the longest part of the recipe) – I recommend either making the dough in the morning and baking the cookies in the evening, or letting it chill overnight and making them the next day.
- Once chilled, preheat the oven to 350° Fahrenheit and prep one or two cookies sheets. Grease the cookie sheets, line with parchment paper, then grease again with cooking spray or butter. Remove the chilled dough from the fridge immediately before rolling and baking the cookies (if it gets too warm it will be too sticky to handle). Pour your two cups of powdered sugar into a small bowl for rolling. Use a teaspoon or other small spoon to scoop out dough and use your hands to roll into 1-inch-diameter balls. Toss balls in the powdered sugar until thoroughly coated (the more powdered sugar on each ball, the better they’ll look once baked!).
- Place balls two inches apart on the cookie sheets (I usually can get 15-18 cookies on each sheet) – do NOT flatten the cookie dough balls. Once each sheet is full, bake for 13 minutes and then remove and let cool completely before eating or plating. Cookies will still be soft when you take them out of the oven but will firm up once cool. Repeat until all the dough has been used! You can make larger balls for larger cookies, just be sure to spread them apart farther on the cookie sheet.
Tag @sisterssansgluten on Instagram if you snap a photo of your cookies!
Food photography and styling by Amelia Farber


4 Comments
Pingback:
Ryan Wong
I usually hate gluten free food because it is dry, tasteless, and usually I eat it because I feel guilty. This was one of the most moist, sweet, and amazing cookie I have ever tasted. This cookie changed my opinion on gluten free forever. Can’t wait to steal the recipe.
Tristan
Light and airy pistachio treat.
Pingback: