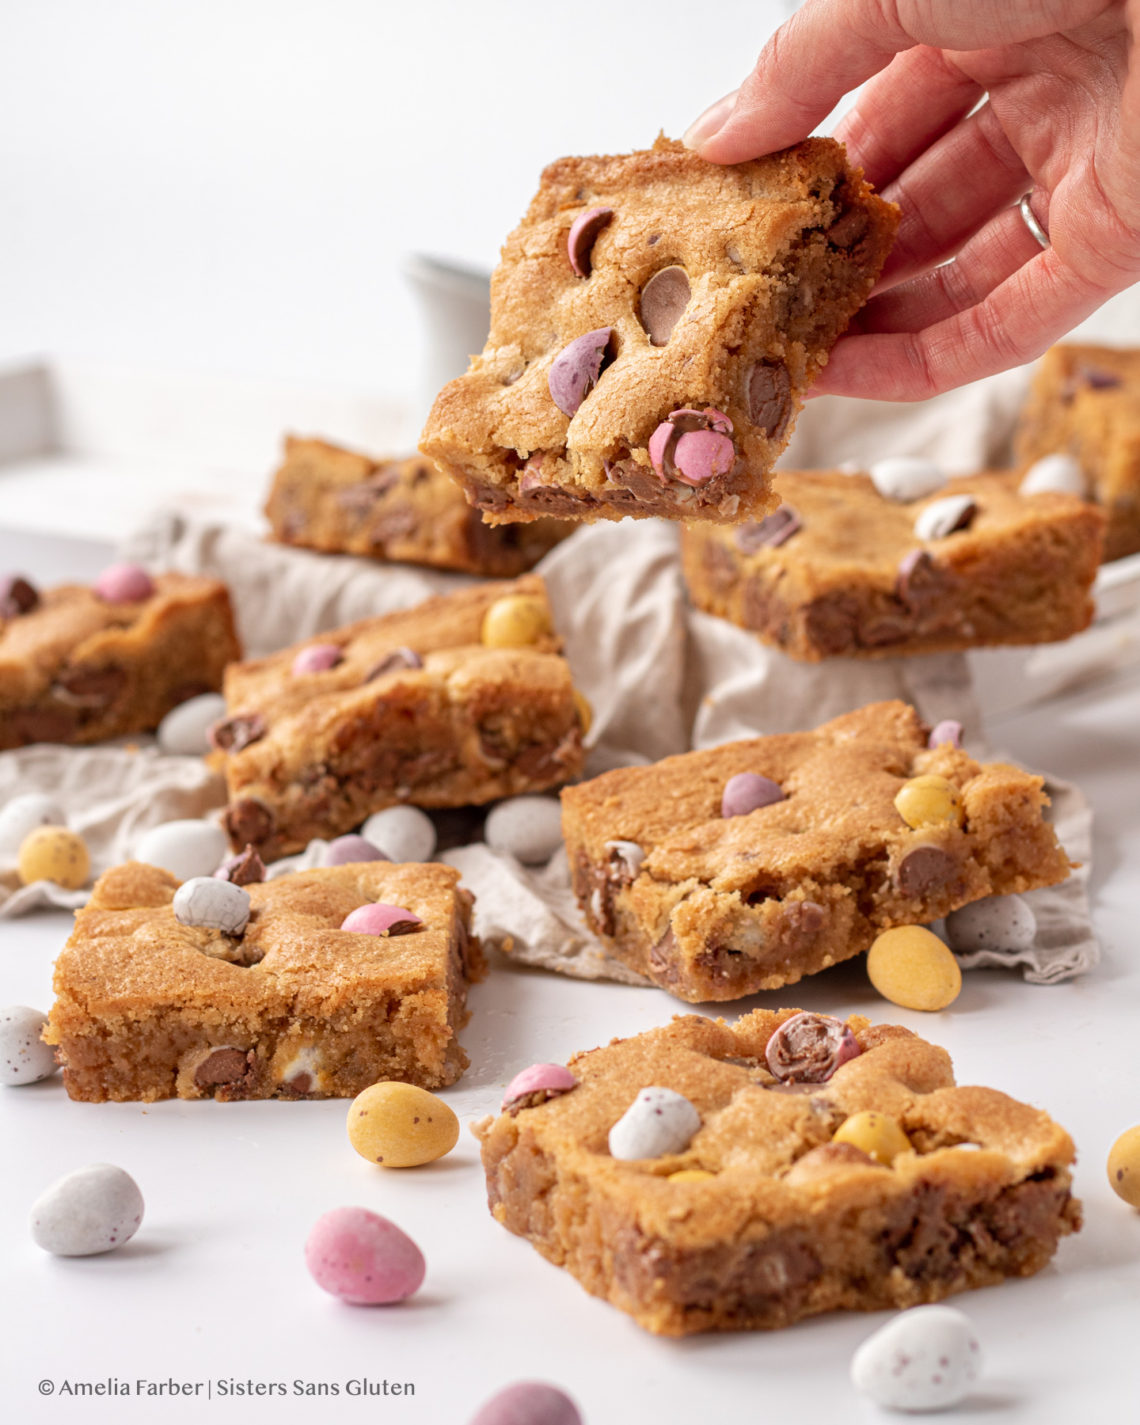
These gluten free mini eggs blondies are a revelation – not only are they the FIRST ever baked good I’ve made using Cadbury mini eggs, they’re also ridiculously easy, filled with indulgent browned butter, and are the perfect treat for Easter morning or for any sweet gifts you want to share with friends and family this weekend. They’re also the first thing I’ve baked back in my house in Oxford in over a month and it feels so incredibly good to get to be creative in the kitchen again. It’s certainly been a bit of a bizarre last 5 weeks with some really challenging and emotional experiences and decisions, so being back in a safe, comforting space in which I can try out new recipe development, baking, and food photography is truly wonderful. I’m thankful I got to bake a bit back with family in Oregon as well, but it feels extra special to be baking back in my own space and starting to reclaim my Oxford experience.
To the blondies! After falling in love with mini eggs earlier this year, thanks to my housemates, I was determined to use them in a new recipe for the holiday and this is my first go. Blondies are an old favorite (our Grandma Charlotte used to bake them quite often and bring a warm one as a treat when she picked us up from school), and have the benefit of being very versatile (throw just about any mix-ins into your blondie batter for a new spin every time!), very indulgent (read: non-chocolate brownies, basically), and one of the easiest, fastest bakes you could ever make (no resting! no chilling! no waiting! very few ingredients!). The only thing I add to these to make them the ultimate indulgence and thus take a tad more time than normal is the browned butter – an ingredient that I use liberally in my baking because 1) why the heck not? and 2) it adds a ton of amazing flavor especially when using gluten free flours that may have a bit of a “gluten free” taste to them (IYKYK).
Tips for these gluten free mini eggs blondies:
- You can brown your butter days ahead of time! I always like have a container of browned butter handy to use in any new or old recipe that may call for it. I typically brown up to 2 cups at a time and use however much I need for a recipe (more and it gets a bit unwieldy in a saucepan). Just like your standard butter, once you brown it you can store it in the fridge or at room temp. This recipe requires room temp browned butter, so just be sure that if you do store it in the fridge, take it out and bring it up to room temp before starting.
- Spend extra time on the first instruction in the recipe! Creaming butter + sugar is reeeeally key here, so don’t cut this short. It’s pretty amazing how creamy, lighter, fluffier butter + sugar can get once you’ve beat it for over 3 minutes – just keep going!
- Do not chop your mini eggs! This is very dangerous as they have a hard outer candy coating and can easily slip out from under your knife – leading to risky situations. I found that using the flat edge of a large kitchen knife and pressing down just enough to crack each egg in half (you don’t need to press down very hard) worked very well (imagine crushing a clove of garlic but with about 1/10 of the pressure).
- If you want the fun decor on top like I did here, save some extra crushed mini eggs to press into your warm, just-baked blondies right at the end.
- To slice your blondies into clean-edged squares, I recommend lifting the cooled blondies out of the pan (using the parchment paper), and using a hot large kitchen knife (either heat it with a lighter/over a stove flame carefully, or in a jug of very hot water – wipe off the water before slicing) so that you can easily cut through the mini eggs.
If you’re into Easter treats, here are a few others: my favorite gluten free carrot cake, carrot cake cupcakes, carrot cake giant muffins, almond shortbread, or this giant fruit pavlova. Or check out my caramelized white chocolate blondies for another elevated elegant blondies!
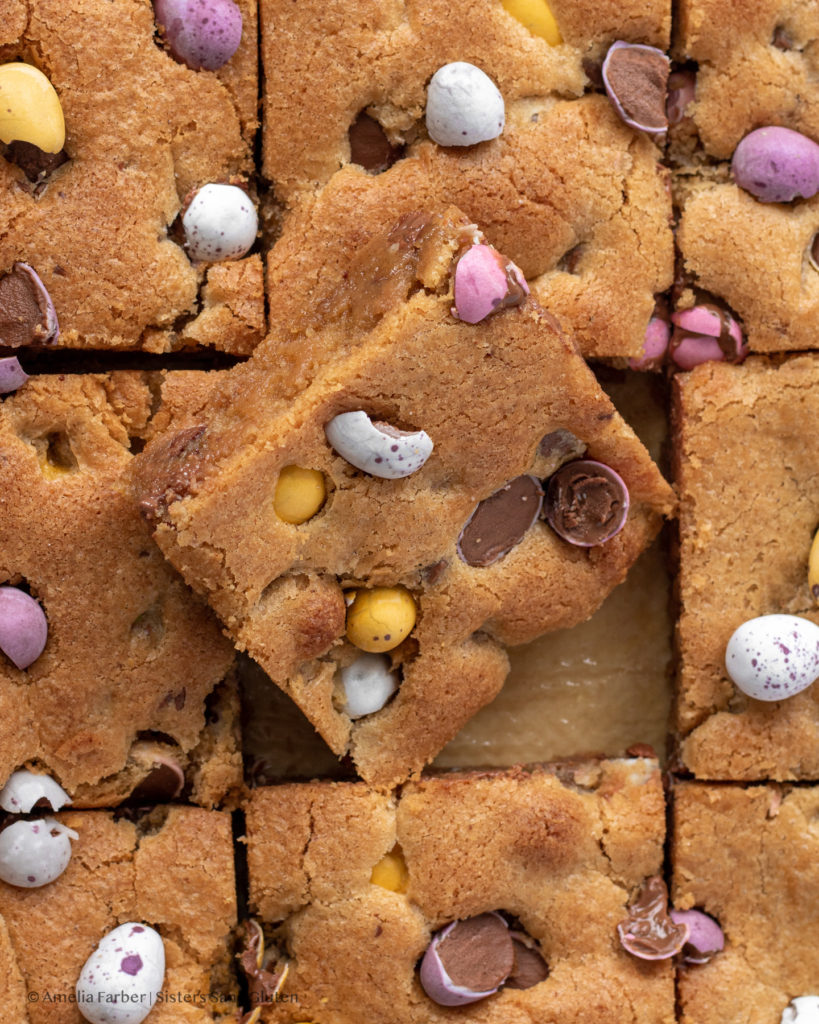
Gluten Free Mini Eggs Blondies
Equipment
- 9×13 baking pan
- Medium saucepan
- Electric mixer
Ingredients
- 1 ¼ Cup softened salted butter – browned instructions below
- 1 Cup packed light brown sugar
- ½ Cup white sugar
- 2 large eggs
- 1 1/2 Tbsp vanilla extract
- 1 ½ Cup gluten free 1-1 flour mix that contains xanthan gum if your mix does not contain xanthan gum, add 1/2 tsp now
- ¼ Cup arrowroot starch or cornstarch (cornflour in the UK)
- ¼ Cup blanched almond flour, packed
- 1/2 tsp. baking powder
- ¾ tsp. salt
- 2 ¼ Cups crushed mini eggs save ¾ Cup for the top
Instructions
- First, make your browned butter! In a medium to large saucepan over medium-low heat, melt the butter and stir constantly until simmering. Continue to simmer, on medium heat, for a few minutes, until the popping and hissing sounds have completely subsided (this is the water in the butter burning off – you’ll know once it’s silent). Continue to cook, stirring constantly, until the butter reaches a caramel color and smells nutty and caramelly. The butter will foam upwards, so keep stirring/lifting up spoonfuls of the butter to see the color. The browned milk solids will come up to the top of the butter foam if you stop stirring to check – once it does that- immediately take off the burner and let sit for a few minutes, then pour (scrape ALL of the brown bits – that’s the flavor!) into a heat-proof small bowl and let it cool to room temp (it should be solid). I let it cool on the counter for about 40 minutes and then pop it in the fridge for 15-30mins to chill it. NOTE: you'll end up with about 1 Cup of browned butter – this is the right amount to use! If you're using margarine/a dairy-free alternative, SKIP this entire browning step and move on to the next one.
- Once your browned butter is solid/chilled, preheat the oven to 350° Fahrenheit (180 C, no fan). Prep a 9×13 pan: grease the pan, then line with parchment paper. Then chop/crush your mini eggs (I recommend using the flat side of a large knife and pressing down lightly to crack each egg in half as opposed to chopping directly (chopping directly could be dangerous).
- In a large bowl, using an electric mixer, cream together the butter, brown sugar, and white sugar until lighter and fluffy – this will take 2-3 minutes). Add in the eggs and vanilla and beat to combine.
- In a separate smaller bowl, whisk together the flour, almond meal, arrowroot starch, baking powder, and salt. Pour the dry ingredients into the first bowl and stir to fully combine. Add in the chopped mini eggs and stir until evenly distributed. Pour the mixture into the prepared pan and then top with ½ Cup of the remaining chopped/crushed mini eggs. Bake for 30 minutes or until the top and edges are golden brown. Press the last ¼ Cup of crushed mini eggs on top of the warm blondies for decoration. Let cool slightly or completely before serving. These can last days in an airtight container, but they may be gone pretty quickly!
Tag @sisterssansgluten on Instagram if you snap a photo of your blondies!
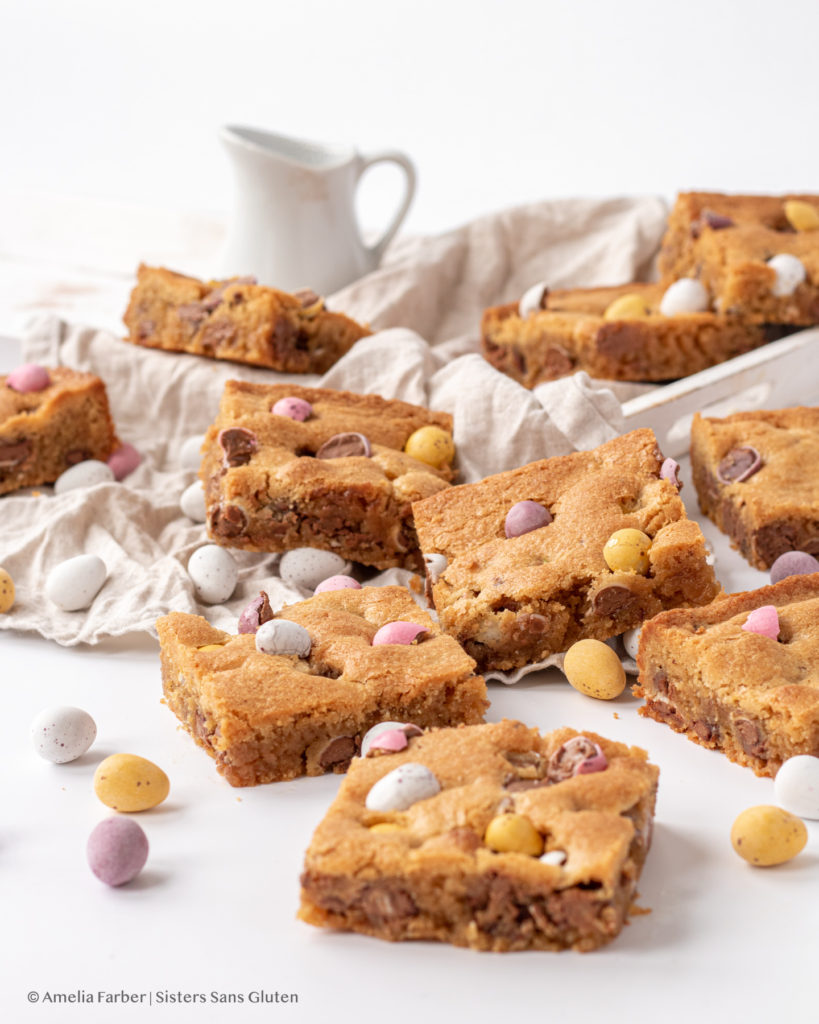
Food photography and styling by Amelia Farber

