After a year in the “real world” – post undergrad – three of my dearest friends and I were living in a 525 square foot, 2-bedroom apartment in Mountain View, figuring out what we wanted the next phase of life to be. In all honesty, I do not know how four girls managed to live in the tiniest of apartments with about as much space to move around as a shoebox. Miraculously, we all still like each other today and somehow managed to never need the one-bathroom at the same time. It was a time of cheese parties with heaps of European gems picked up at the local Milk Pail Market, of crowded house birthday parties, struggles with the janky oven and stove in our minuscule kitchen, our very own Christmas tree cut down at the tree farm on the top of Skyline Blvd, and even a literal dumpster fire at the Jewish preschool next door one Saturday (not to worry, no one was harmed). And then, after I finished my masters, Christina embarked on hers, but this meant moving to the UK to study nuclear non-proliferation at Kings College London (nbd). As we bid farewell to one of the Apartment Q “Q-ties,” it was the end of an era.
Not to be deterred by distance, though, the three of the remaining Q-Ties decided to reunite the group, abroad! We visited Christina in London, took a side trip to Munich, and had an all-around fantastic time. On the last night in London, Christina, Leslie and I (Zara was still sleeping off a two-day hangover in Munich with childhood friends) made what became a group favorite: a banoffee pie! Now, all of Christina’s UK classmates were under the terribly-incorrect assumption that a banoffee pie was quintessentially American (one of them made one for a mock Thanksgiving celebration that Christina hosted in her Shoreditch apartment). Who started this rumor? I mean, it’s a fantastic pie, but really? The base is made of ginger nut biscuits, which I think we’d all be hard-pressed to find here in the US by that name. In any case, we made one with some blitzed up gluten free ginger nut biscuits, a tin of toffee, and heaps of bananas and whipped cream picked up from the Tesco just downstairs, and it was divine.
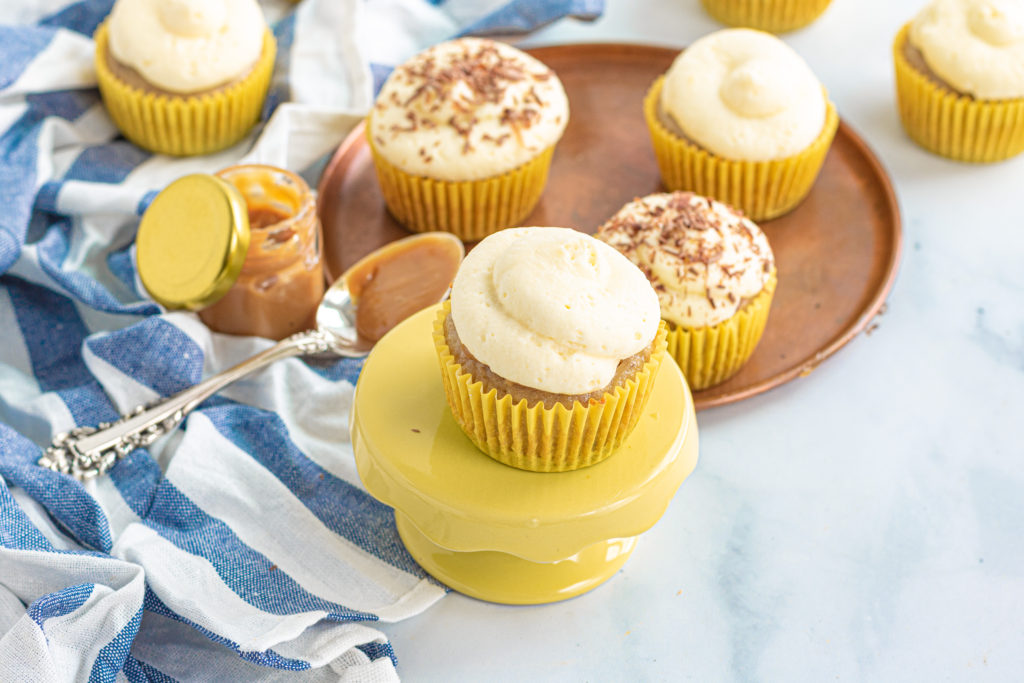
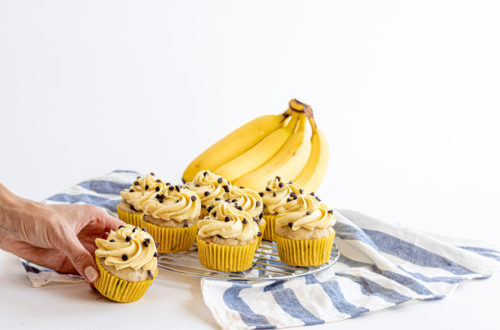
So, all of that to say, banoffee is a fantastic flavor combo, and when I was thinking of new cupcake flavors for the week, this one just had to be included. So, the gluten free banoffee cupcake was born. These wonderfully-fluffy banana cakes are paired with a buttery, gingery graham cracker base (cupcakes with graham cracker crusts?!), filled with homemade dulce de leche, and topped with fresh whipped cream and chocolate shavings. A true treat, if you’ve ever seen one. Go ahead and treat yourself this weekend with a batch of these. If you’re into banana things, try out our banana snacking cake (crazy easy, especially with the state of grocery stores right now – no tricky ingredients), or if you just want something decadent, check out these brown butter millionaire shortbread bars (a bit more work but worth it).
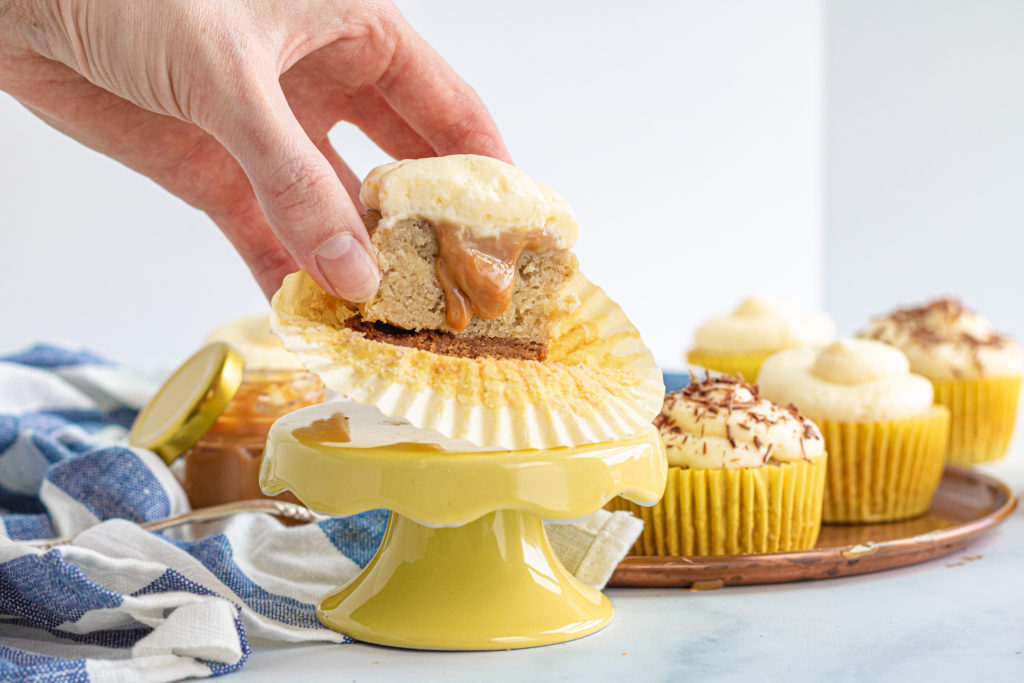
Gluten Free Banoffee Pie Cupcakes
Equipment
- Cupcake pans
- Pie pan
- Roasting pan
- Aluminum foil
Ingredients
For the dulce de leche:
- 1 14 oz can sweetened condensed milk
- 1/8 tsp salt
For the cupcakes:
- 1/2 Cup salted butter melted
- 1 1/4 Cup white sugar
- 4 medium-large bananas
- 1/2 Cup sour cream
- 2 large eggs
- 1 tsp vanilla extract
- 2 Cups gluten free 1-1 flour mix with xanthan gum in it (if the mix doesn't have xanthan gum, add 1/2 tsp of xanthan gum)
- 2 tsp baking powder
- 1/2 tsp salt
- 2 Cups crushed gluten free graham crackers
- 6-8 Tbsp salted butter melted
- Pinch salt
- 1/4-1/2 tsp ground ginger
For the whipped cream topping:
- 2 1/2 Cups heavy whipping cream
- 1/3 Cup powdered sugar
- 1/2 tsp vanilla extract
- 10 tsp cold water
- 2 1/2 tsp powdered plain gelatin
- Dark chocolate baking bar for chocolate shavings
Instructions
- First, make the dulce de leche. This recipe makes it from scratch by baking sweetened condensed milk, but if you have pre-made dulce de leche – move on to step 2! Preheat the oven to 425° Fahrenheit. Pour the contents of one 14 oz can of sweetened condensed milk into a glass pan (I use a pie pan) then cover the pan with tin foil. Next, set the pan into another, larger, baking or roasting pan (or large oven-safe frying pan) and fill that pan with at least 1.5 inches of water (essentially you're making a bain-marie). Place the entire bain-marie into the oven and bake for 2 to 2 and a half hours (it seems like a long time but it's worth the wait!). Check every hour to be sure there is still water in the larger pan (or the dulce de leche will burn. Once it's done it will be a deep caramel color. Remove from oven and let cool. Once it's cool, scoop dulce de leche into a container and stir in the salt, then set aside.
- Next, make the cupcakes! Preheat the oven to 350° Fahrenheit and line two cupcake trays with paper liners then set aside. Crush the graham crackers and then toss in a medium bowl. Mix together with the melted butter (should look like wet sand but not be liquidy). Add in the salt and ground ginger and mix. Then, spoon about one tablespoon of the mixture into the bottom of each paper cupcake liner and press down until flat. Then set aside.
- In a large mixing bowl, mash the four bananas until totally goopy and no large chunks remain. Add in the melted salted butter, sour cream, eggs, vanilla, and sugar and whisk together until creamy and lighter. Add in the flour, baking powder, and salt and stir to combine. Then scoop batter into the graham-cracker-crust lined cupcake pans – each cup should be about 3/4 full. Bake for 18-20 minutes or until the top of a cupcake springs back with touched. Let cupcakes cool before filling and topping them.
- While the cupcakes are cooling, make the stabilized whipped cream! In a small saucepan, combine the powdered gelatin and cold water and mix to combine – it should thicken up instantly a bit. Then, heat over low heat, stirring constantly, until all gelatin dissolves. Turn off heat and pour the mixture into a cup or small bowl to cool (but not set!). While the gelatin is cooling, start beating the heavy cream on high with an electric mixer until it becomes thicker but before soft peaks form. Add in the powdered sugar and continue to beat for a few seconds, then slowly pour in the cooled gelatin liquid and continue to beat until stiff peaks form. Then scoop into a piping bag.
- Once the cupcakes are cool, use a small paring knife to cut a 1×1 inch square into the top of each cupcake and remove the chunk (and eat it for a snack). Fill each hole with about a teaspoon or more of the dulce de leche. Then, pipe the stabilized whipped cream on top of the cupcake, covering up the dulce de leche.

- Last step! Place your dark chocolate baking bar on a cutting board, and, using a large knife or a hand-held vegetable peeler, scrape the bar so that chocolate shavings form. Toss shavings on top of the whipped cream and serve!
Tag @sisterssansgluten on Instagram if you snap a photo of your cupcakes!
Food photography and styling by Amelia Farber




One Comment
Pingback: