One of the best holidays as kids was Easter – the easter baskets, decorating real eggs, filling plastic ones with all the chocolates, marshmallow peeps, jelly beans, and other goodies we could get our hands on, and then the actual day-of – conducting the most elaborate hides and hunts of all of the easter goods in our backyard. When we were really little, we’d go to our friend Nathan’s house out in the hills above Ashland, where he and his family would host a massive egg hunt every year in the forests, tumbled trees, creek, and hillsides surrounding their home. We’d dress up in spring florals, do our hair, wear little cardigans, and then once our age group was allowed to go join the hunt we’d tear down the hill and it was mission critical to find as many eggs as our decorated baskets could hold. If the spoils of easter scavenging piled up quickly, we may plop down in the greenery next to a log or a tree and start inspecting the contents of each plastic egg (obviously the goal was to get as many of those vs the real eggs as possible in an attempt to skew our likelihood of getting the most candy) and feasting on the favorites while the rest of the kids kept searching. Those were the days – eating mouthfuls of milk chocolate candies in the forest, decked out in twirly easter dresses and full of plates full of potluck dishes like our mom’s pasta salad or pimento cheese.
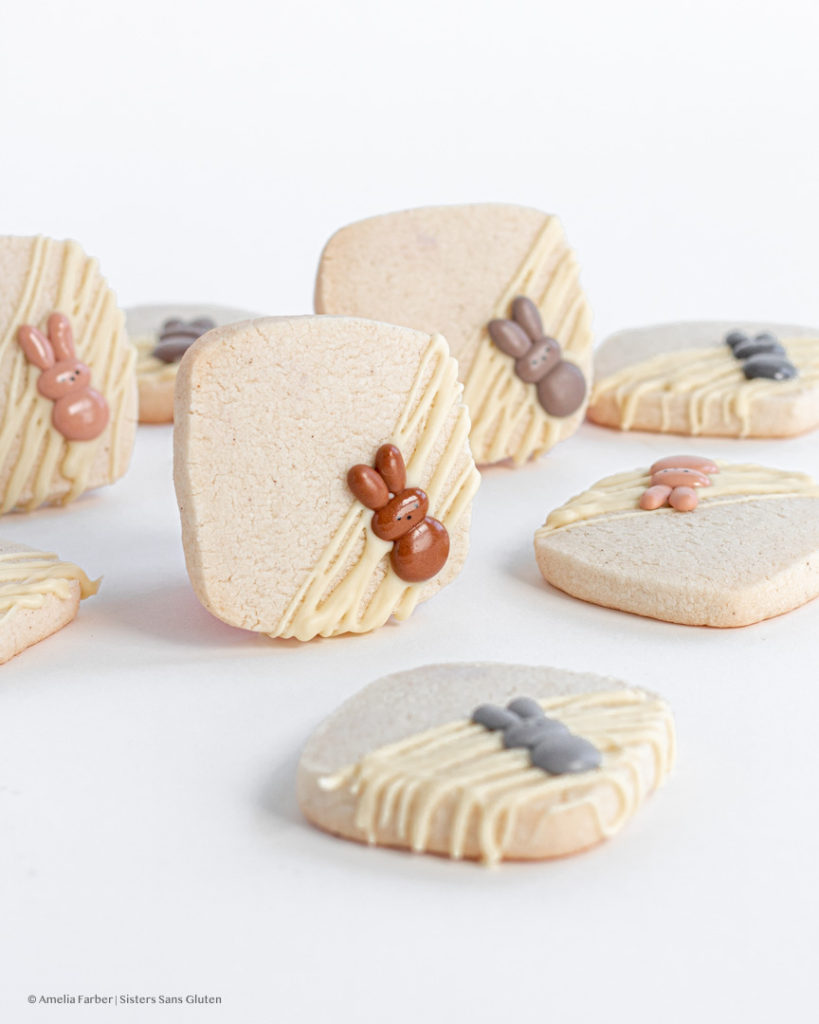
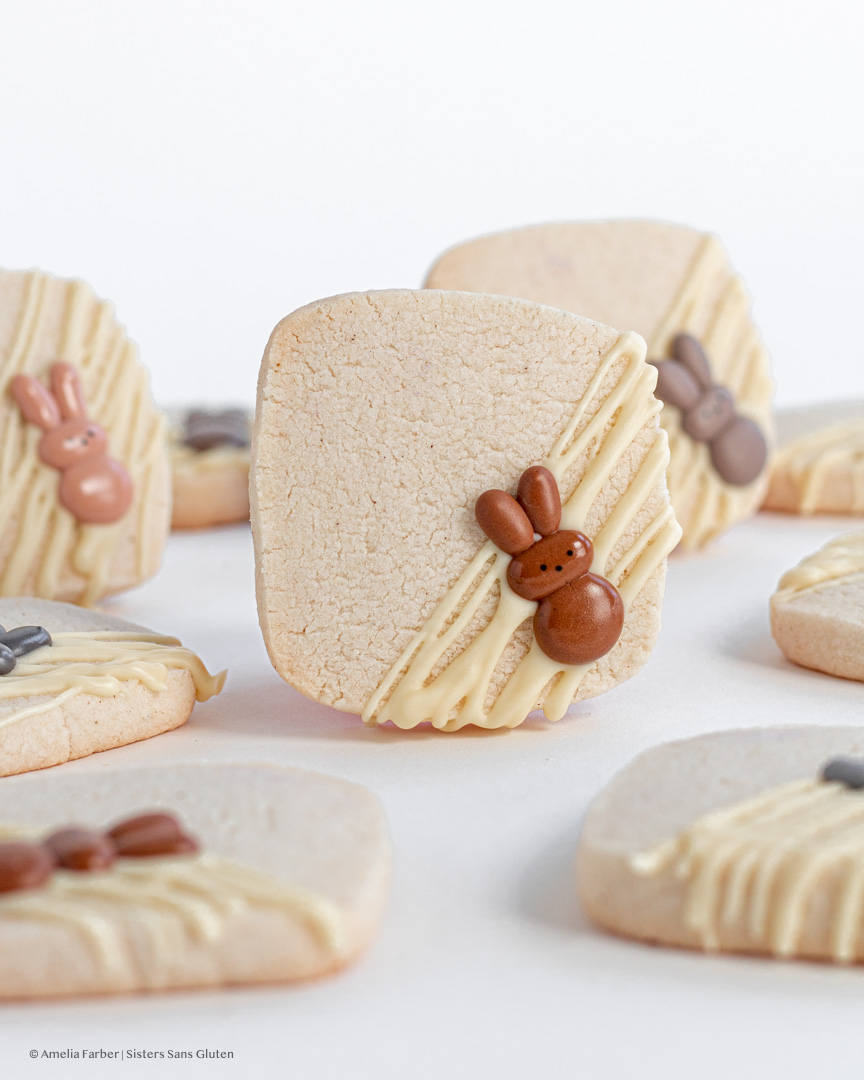
We transitioned to our own backyard hunts after we moved to Eagle Point – taking care to actually HIDE the eggs (no easy finds in our house) – and invariably one or two real eggs that were hidden with a bit too much skill would turn up months later as a prize the dogs thought they’d unearthed. Which was why it was imperative to know the count of how many eggs were hidden ever round and for the hiders to remember where they’d put everything. These years, easter is a quiet weekend, maybe involving a picnic with friends, or dying eggs at home with one of those little kits from the store for use as deviled eggs after we’d taken photos of the best-decorated ones and maybe indulged in a few easter treats. I decided to go for cookies this year – gluten free almond shortbread to be exact. Shortbread is one of my absolute favorite cookie types – always buttery, just the right amount of crumble, and subtle flavors, and SO EASY. Like crazy easy to make. These ones have almond flavoring and a drizzle of white chocolate, and make use of the adorable Black Lives Matter bunny royal icing transfers that Melissa of Sprinkle Robot created. She’s got a ton of other perfect cookie/cake toppers so check her out.
If you’re looking for other easter treats, try out favorite vanilla almond carrot cake with cream cheese buttercream, or these accompanying carrot cake cupcakes. And if shortbread is your thing, check out these chocolate shortbread cookies with cocoa nibs, or these chocolate mint shortbread cookies, or these brown butter pecan shortbread cookies (SO GOOD).
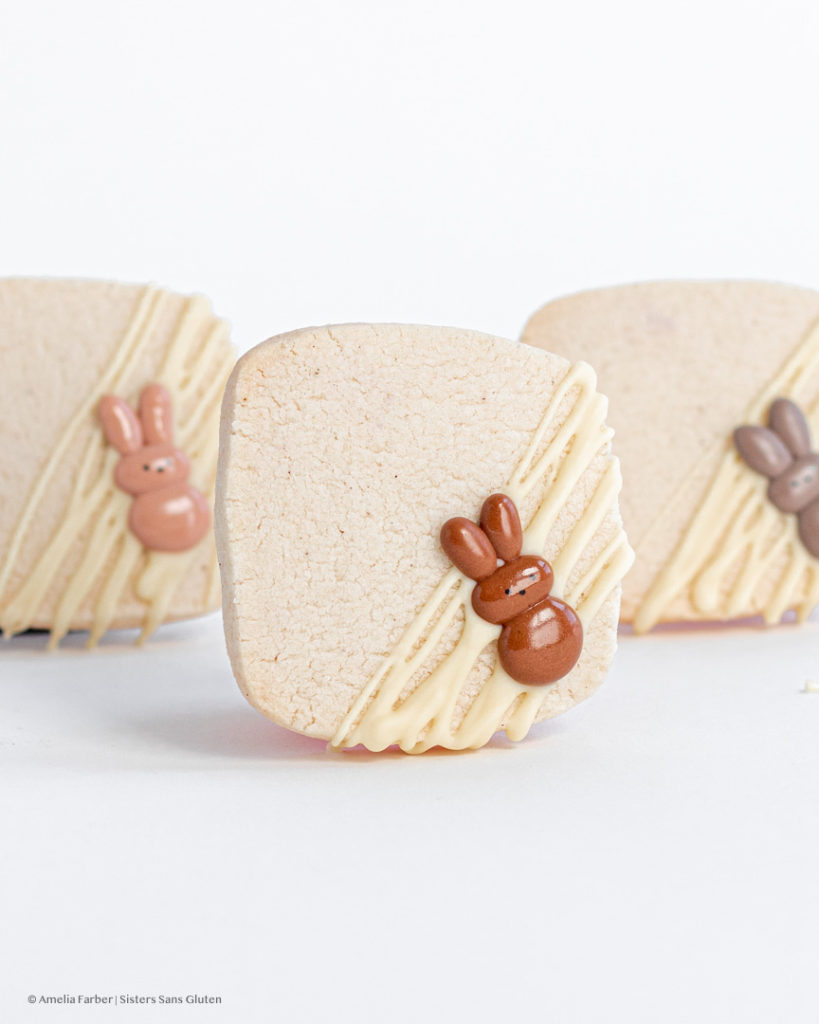
Gluten Free Almond Shortbread with White Chocolate
Equipment
- Two cookie sheets
- Parchment paper
- Plastic wrap
- Electric mixer
Ingredients
- 1 1/2 Cups salted butter room temperature
- 3/4 Cup white sugar
- 1/4 Cup powdered sugar
- 1/2 tsp vanilla extract
- 2 tsp almond extract
- 3/4 Cup arrowroot starch
- 2 1/2 Cups gluten free 1-1 flour mix with xanthan gum added (if it doesn't have xanthan gum, add 1 teaspoon xanthan gum)
- 1/2 tsp salt
- 1/2 Cup good quality white chocolate optional – the cookies are great plain too!
Instructions
- First, make your shortbread! This will need to chill before baking. In a large bowl, using an electric mixer, beat the butter for 2-3 minutes by itself until it's lighter. Add in the white sugar and continue to beat on medium high speed for 2-3 minutes until fluffy. Add in the powdered sugar and beat until smooth, then add the vanilla, almond extract (affiliate link), salt, and arrowroot starch and continue to beat until fully combined and smooth. Then, slowly beat in the flour, 1/2 cup at a time – it will get very stiff so you may have to stop using the electric mixer and start molding it together by hand or with a wooden spoon. You want it to be a ball of dough – not runny or wet. If it doesn't seem dry enough, add a bit more flour.
- Then, separate the dough into two equal chunks, and pat/form them into logs. I place each chunk on a large sheet of plastic wrap and roll/form them into square logs, then wrap tightly with the plastic wrap and place in the fridge to firm up/chill for at least about 45 minutes (you can leave them in overnight as well – if you leave it in for longer than 45 minutes, you'll need to let it sit at room temperature for 10 or so minutes to soften a bit).
- Once the logs are chilled, preheat the oven to 350° Fahrenheit and lightly grease two cookie sheets. Line the sheets with parchment paper and grease again with butter or cooking spray, then set aside. Remove logs from the fridge and unwrap, then carefully sliced 1cm/1/3 inch sections to create your shortbread cookies, placing them about an inch and a half apart on your prepared cookie sheets. Bake for 14-17 minutes or until dry and firm to the touch (I bake for exactly 14 minutes). Let cool completely before topping with white chocolate or eating – they're great on their own too!
- If you want to add a bit of white chocolate, let cookies cool, then melt the white chocolate in a microwave safe bowl for 1 minute and stir until smooth, then drizzle over cookies and pop in the freezer for a few minutes to harden the chocolate before serving/eating!
Tag @sisterssansgluten on Instagram if you snap a photo of your shortbread!
Food photography and styling by Amelia Farber





One Comment
Pingback: