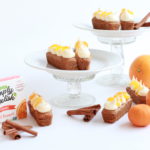
For these gluten free gingerbread orange bars we are giving a huge shout out to Simply Delish for this recipe inspiration! Full disclosure – we joined the Simply Delish affiliate program which essentially entails them sending us a box of their gluten/dairy-free pudding and jel boxed mixes every few months, and us coming up with recipes that involve those boxed mixes as an ingredient every month, so you’ll see a few other Simply Delish-inspired recipes on here once in a while! This one uses their Orange Jel boxed mix and if you’re into it, use our specific link here to go check out their products, and use our 10% discount code SSGPUDDING to get 10% off of whatever you order!
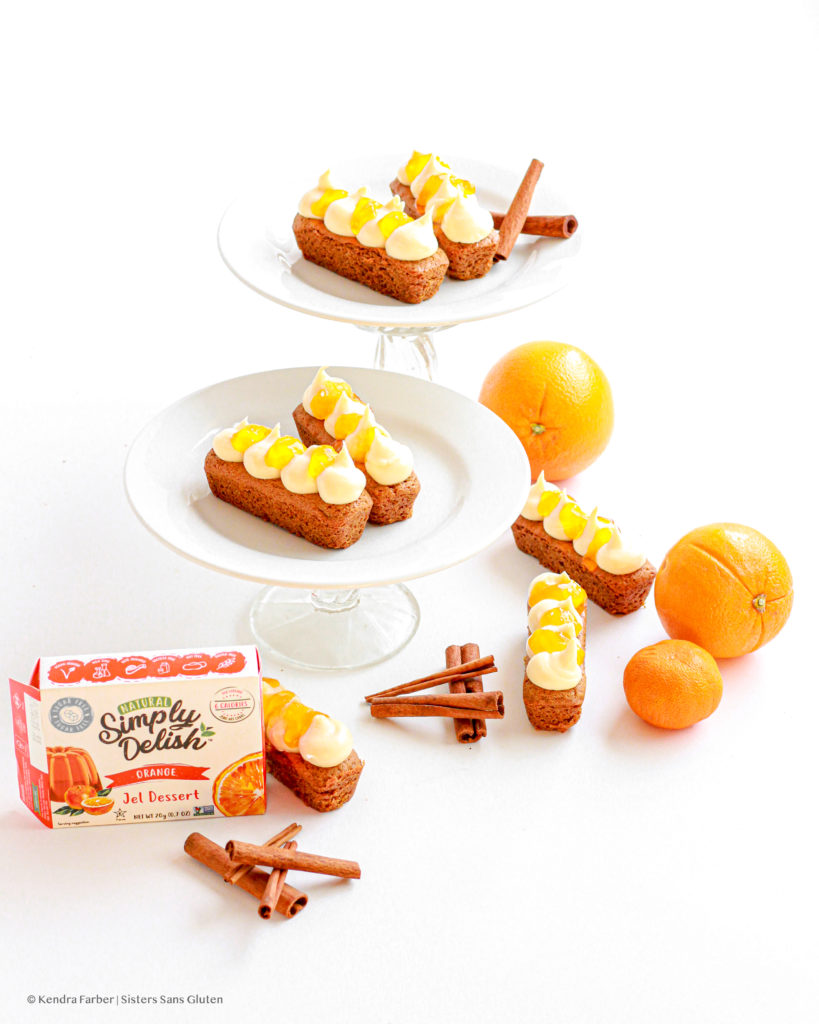
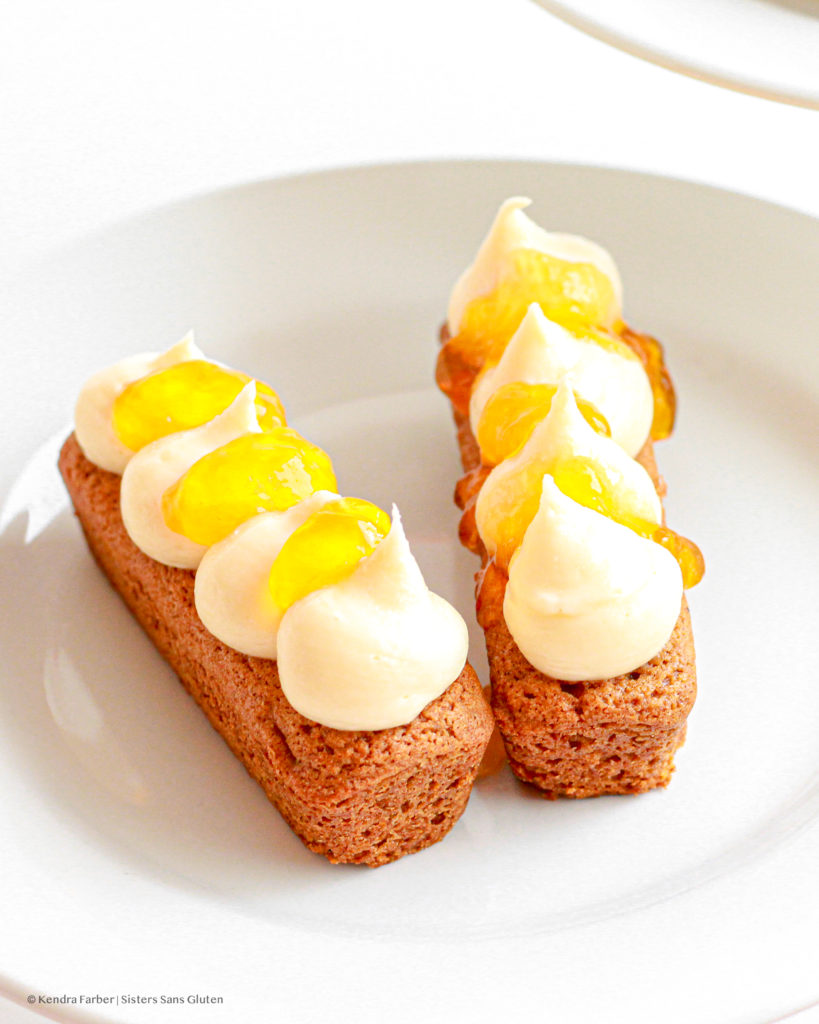
In this holiday-wintery season, the foods that complete traditions in my family are gingerbread and oranges. I wanted to blend both of those flavors together for some sort of festive dessert and voila, these gluten free gingerbread orange bars were created! The bottom layer is based off of my classic soft ginger cookie recipe and topping that is a sweetened cream cheese layer. For the final layer I decided to use an orange gelatin mix (Or in this case, a vegan Orange Jel mix). If you use a non-dairy cream cheese/butter and an egg substitute, this recipe can be made completely vegan!
Oranges used to be given as gifts for the holidays because of how hard it was in a lot of the world to get citrus fruits, so they were only gifted on special occasions. So on top of the orange gelatin layer, if before you set it to chill, you could put candied orange slices in that layer for the visual effect.
If you loved this delicious creation, make sure to check out our Decorated Gingerbread Cookies, or our decadent Gingerbread Bundt Cake, or our Cheesecake Pecan Bars!
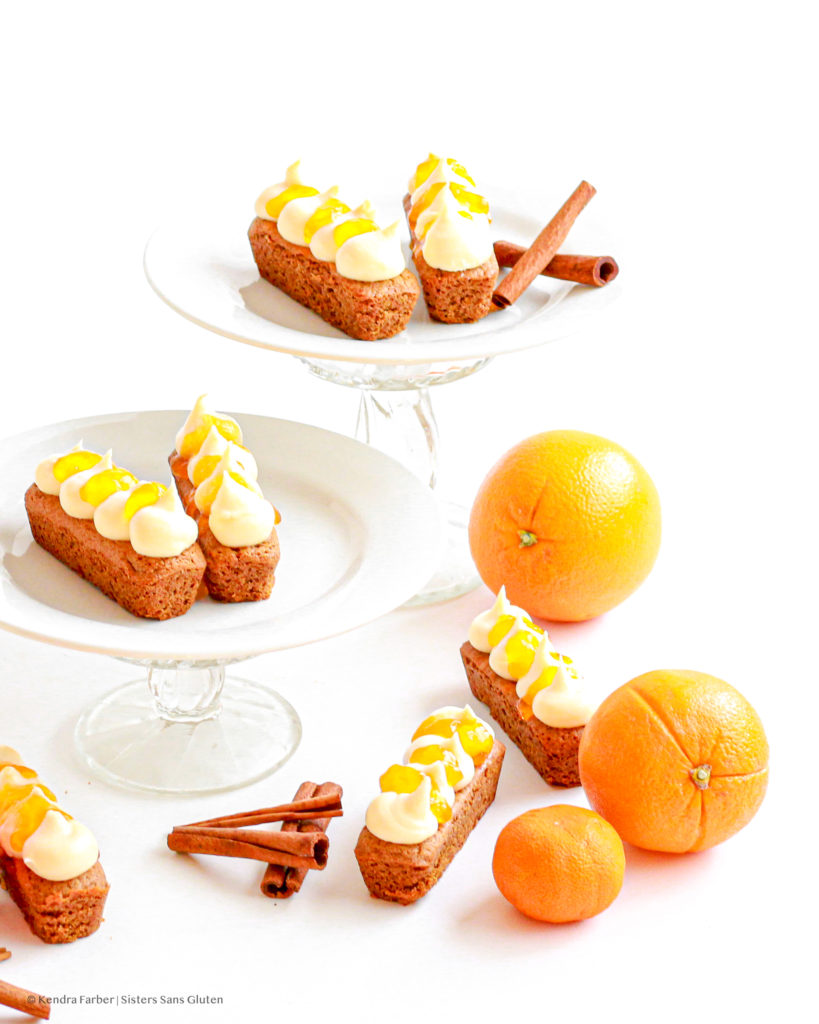
Gluten Free Gingerbread Orange Bars
Equipment
- Electric mixer
Ingredients
For The Gingerbread Layer:
- 1/3 Cup salted butter softened, room temp.
- 1/2 Cup white sugar
- 1 large egg
- 2 Tsp water
- 2 Tbsp dark molasses
- 1 Cup gluten free 1-1 flour mix plus 2 Tbsp.
- 1/2 Tsp baking soda
- 1 Tsp ground ginger
- 1/2 Tsp cinnamon
- 1/4 Tsp ground cloves
- 1 Pinch salt
For The Cream Cheese Layer:
- 8 Oz. cream cheese softened, room temp.
- 1/4 Cup salted butter softened, room temp.
- 1 Cup powdered sugar
- 1/2 Tsp vanilla extract
For The Orange Gelatin Layer:
- 1 Box SIMPLY DELISH Orange Jel Mix
- 1 Packet flavorless gelatin
- 1/4 Cup cold water
- 1 Cup boiling water
Instructions
- First, preheat the oven to 350° Fahrenheit and grease an 8×8 square pan, then line with parchment paper to make removal after baking easier, then set aside. In a large bowl, beat together the butter and sugar. Add in the egg, water, and molasses and continue beating until fully mixed, set aside. In a separate medium bowl whisk together the flour, baking soda, salt, and all the spices and stir until fully combined. While beating the wet ingredients, gradually add in the dry ingredients until fully combined.
- Pour batter into the prepared 8×8 pan and smooth top, then bake for 15-20 minutes or until a skewer inserted into the center of one side of the pan comes out clean. Let the gingerbread cool completely in the pan while preparing the other layers.
- For the second layer, add the cream cheese, butter, powdered sugar, and vanilla to a medium bowl and beat on high until fully mixed and there are no lumps. Set aside. For the third layer, in a medium bowl combine the SIMPLY DELISH Orange Jel Mix, the packet of flavorless gelatin and the cold water and whisk. Once that is fully combined, while still whisking, add in the boiling water and mix until Jel Mix is fully dissolved. Set aside to cool until easily handable.
- To put together all of the layers, take your fully cooled gingerbread layer (still in the pan) and pour on the cream cheese mixture to completely cover the first layer. Once the Orange Jel mixture reaches a lukewarm temperature, gently pour over the cream cheese mixture. Now, place the pan in the fridge to chill and set-up for at LEAST 1 hour.
- When the Jel Mix has fully set you can remove the pan from the fridge to serve. Gently pull the bars out using the parchment paper sides before cutting, or cut in the pan and use a spatula to remove from the pan. Serve immediately.
Tag @sisterssansgluten on Instagram if you snap a photo of your bars!
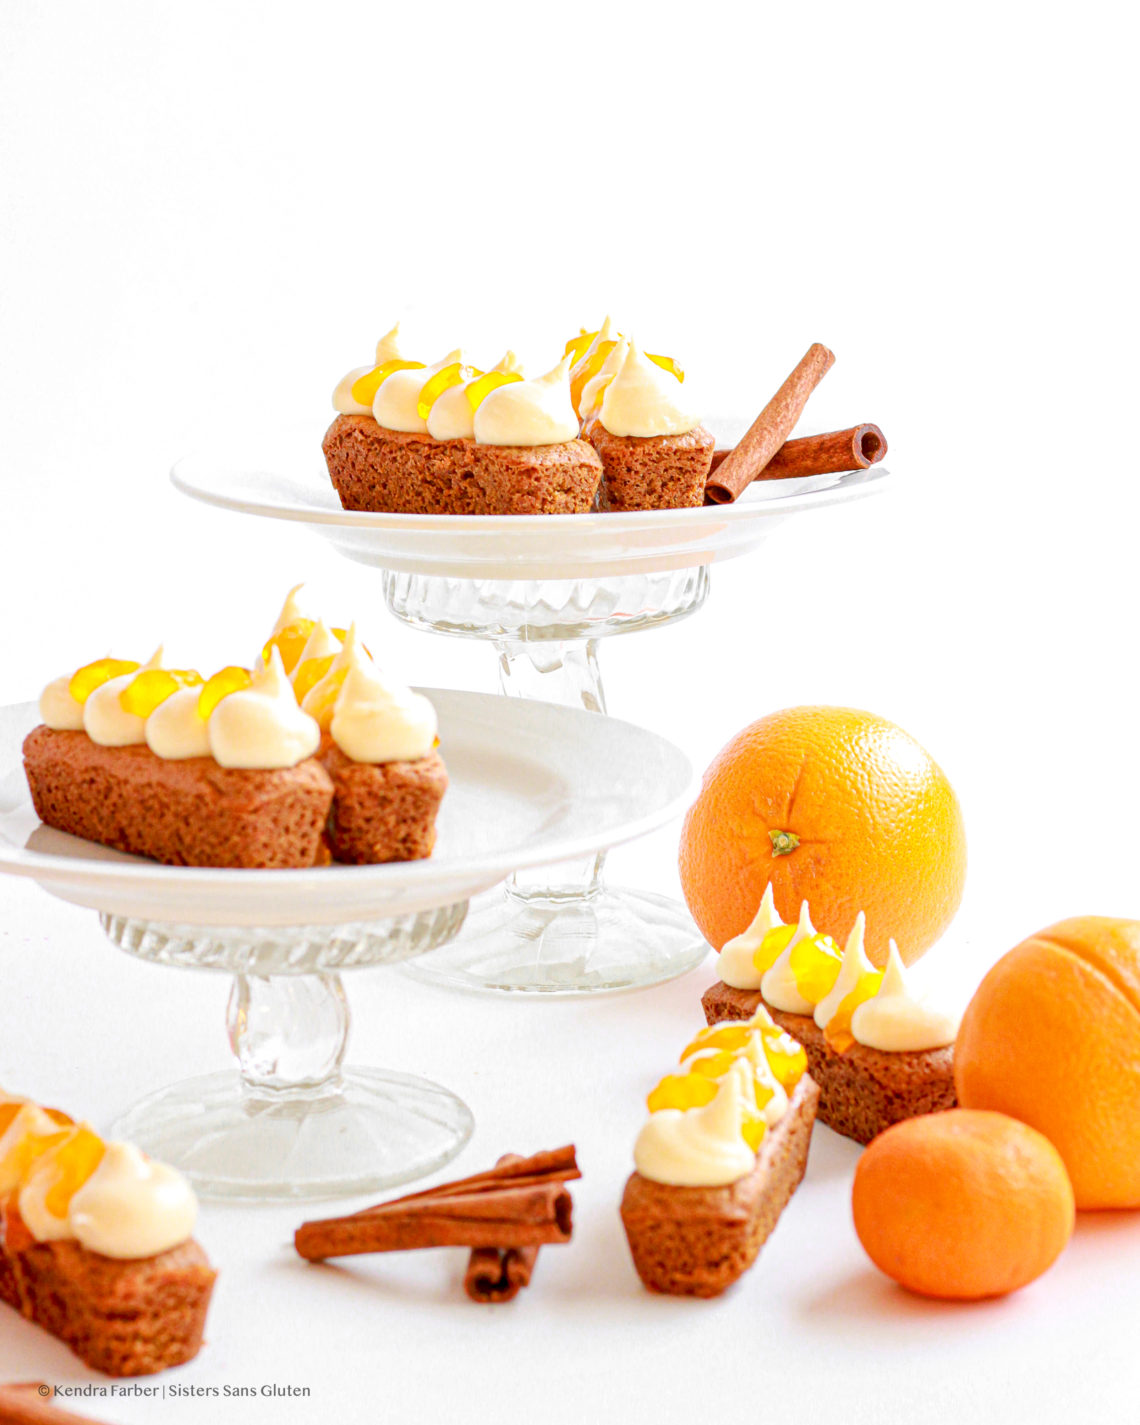
Food photography and styling by Kendra Farber



One Comment
Pingback: